


When you’re augmenting an existing photo or creating new art from scratch, an effect that looks like the sun glinting off a metallic or shiny surface can add some depth and interest to your art. The starburst effect in this tutorial even includes a little lens flare, so it’s a tasteful replacement for the sometimes-overused lens flare filter. This how-to works in many Photoshop versions, from CS4 back to version 7.
Step 1
The first thing is to create a new document in Photoshop. I set my background to black so that I can see the white glint when I make it later.
Create a new layer and choose the line tool (hidden under the rectangle shape tool in the toolbox).

Choose 2 pixels and the draw pixel option from the Options bar.
Step 2
Set white as your foreground color and draw a short dash (A). Hold the Shift key to constrain the rotation to a horizontal line.
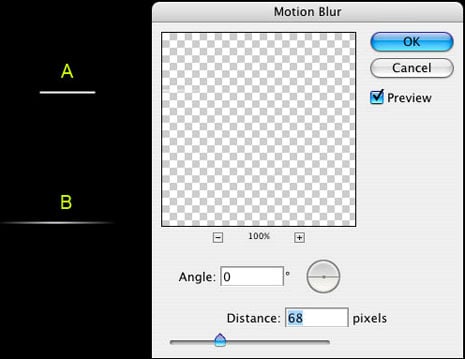
Choose Filter > Blur > Motion Blur. Add enough distance to get a nice tapered look (B). Make sure the angle matches the angle of the line.
Step 3
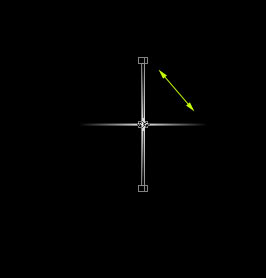
Duplicate the layer with the dash on it. Press Ctrl/Cmd+T for Free Transform. Rotate the dash while holding down shift to constrain the rotation.
Step 4
Choose both of your dash layers and press Ctrl/Cmd+E to merge them. (If you’re using Photoshop CS and earlier, choose the top layer and press Ctrl/Cmd+E to merge with the layer beneath.) Be careful that you don’t merge the dash layers with the background.
Duplicate the merged dash layer (Ctrl/Cmd+J).
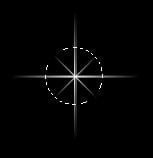
Press Ctrl/Cmd+T for Free Transform. Rotate the merged dashes 45 degrees, then grab a corner point and scale toward the center to make the new star smaller. Hold down Alt/Option+Shift to scale from the center and constrain.
Step 5
You now have your starburst, and you may be satisfied with that.
For those of you who want to add a lens flare to the starburst, continue by creating a new layer. Grab the elliptical marquee tool (circular selection tool) and
create a selection over the starburst.
Step 6
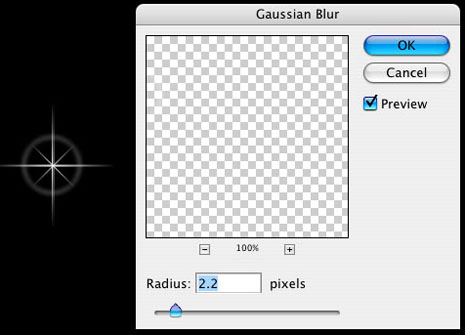
Go to Edit > Stroke and choose a 1 pixel white stroke. Deselect. Choose Filter > Blur > Gaussian Blur to soften the effect.
Click OK and you’re done!
Step 7
Merge the layers together to use on your illustrations and photos. In Photoshop CS2 and higher, you can save them as Smart Objects.
Another option is to make a custom brush: Flatten the whole thing, choose Ctrl/Cmd+I to inverse, and then make a selection around the starburst. Choose Edit > Define Custom Brush.
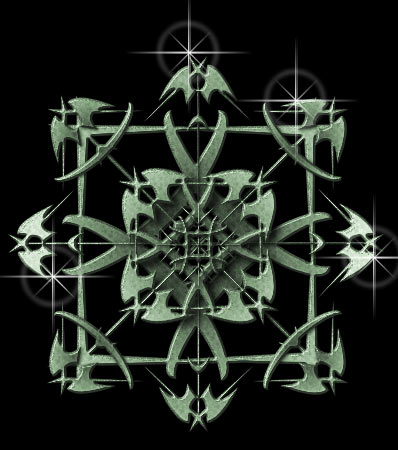
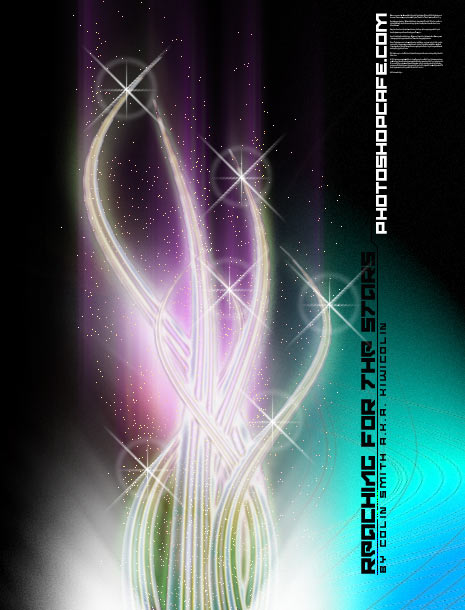
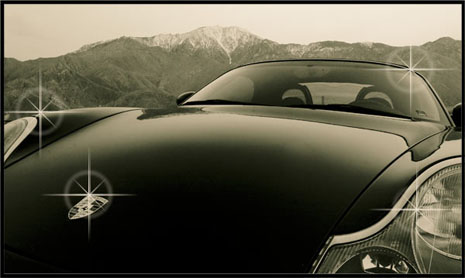
Here are examples of how I’ve used this effect:
This article was last modified on January 5, 2023
This article was first published on February 2, 2009
Commenting is easier and faster when you're logged in!

Recommended for you
Crafting Chromatically Rich and Luminous Images
“If all the world’s a stage, I want better lighting.” I couldn’t agree more with...
Free 3D Photoshop Objects from Pixelsquid
Online image libraries come and go, and the good ones get swallowed up by Getty....

How to Prepare Screen Captures for Print
Excerpted from Real World Print Production with Adobe Creative Cloud by Cla...