

Whether you’re scrambling to put together a last-minute Christmas card or are a planner who’s already thinking about next year’s projects, this Photoshop how-to is just what you need. In it, you’ll learn how to create a Yuletide composition of berries and a holly leaf. And to add a bit of sophistication, you’ll give the elements a glassy sheen.
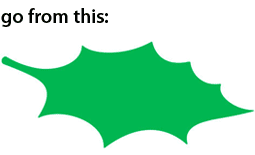
Step 1: The basic leaf
Create your leaf with any of your favorite drawing tools. The Pen tool (P) is my choice. Hold the Alt/Option key to make a corner point at each of the spikes, before drawing the curve for the next section. When you’re done, hit the Enter key to turn the path into a selection. Make a new layer, and choose a bright green as your foreground color; press alt-delete to fill the selection with that color.

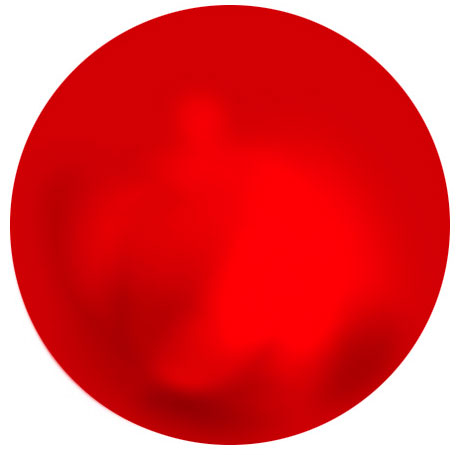
Step 2: Add some shading
Switch to the Dodge and Burn tools (O) to add shading. In the Options bar, set the range to Highlights and choose an exposure of about 50% (unless you’re using a graphics tablet, in which case 100% pressure will be best). Using a large soft-edged brush, paint some shadow on the leaf. Use the Dodge tool to add the highlights. If you hold the Alt/Option key while working with either of these tools, you’ll get the other one temporarily.
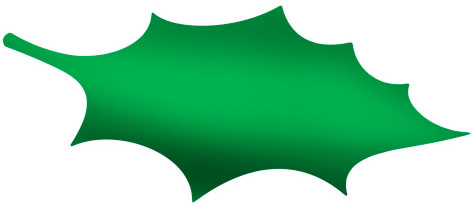
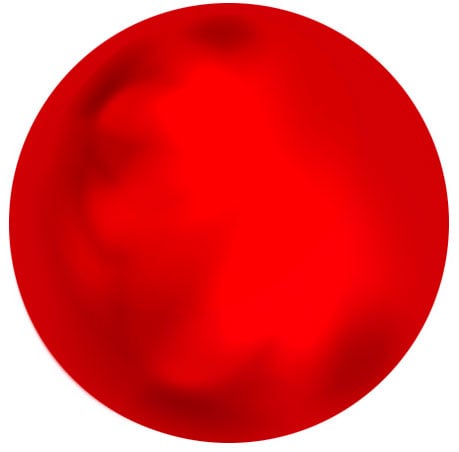
Step 3: Define the leaf
Use the Pen tool to draw a path down the middle of the leaf, then loop around so that the top half of the leaf is selected. Again, hit Enter to turn this into a selection. Take the Burn tool with a large soft brush and, with just the edge of the tool over the selected area, lightly darken the bottom part of the selection. Then go to Select > Inverse to select the other half and use the Dodge tool to brighten the top edge. This makes the convincing crease seen here.
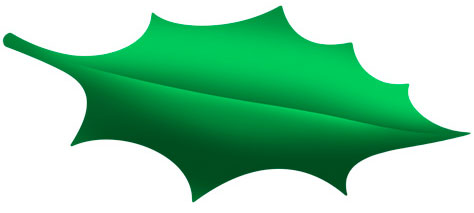
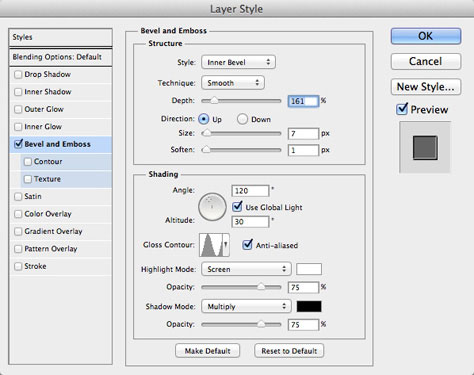
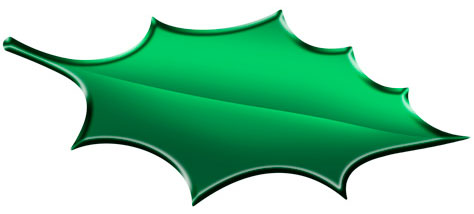
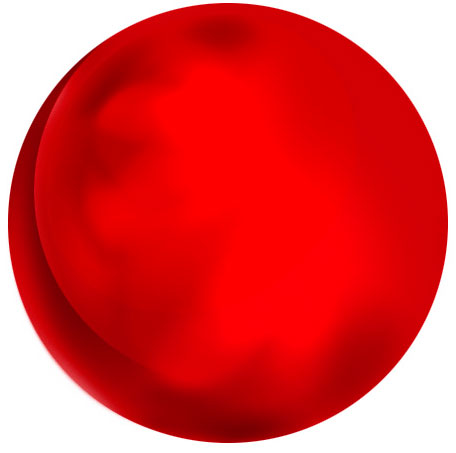
Step 4: Add the gloss
To add some high glow to the leaf, choose Bevel and Emboss from the Layer Effects button at the bottom of the Layers Panel. Set an Inner Bevel with a depth of about 150%. I chose a Size of 7 pixels. In the Gloss Contour section of this pane, click on the down-pointing arrow next to the Gloss Contour shape and select an N-shaped contour from the pop-up selection, as seen here. This produces a shiny, glossy edge to the leaf, making it look more three-dimensional.
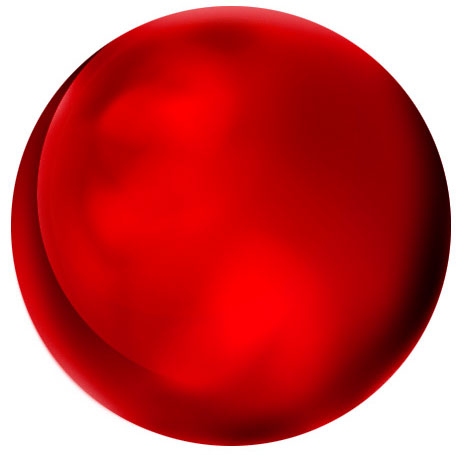
Step 5: The far edge
The trouble with the glossy edge you’ve just created is that it needs to be much thinner at the back to look natural. Duplicate the leaf layer, open the Layer Effects dialog again, and reduce the size of the bevel to just two or three pixels.
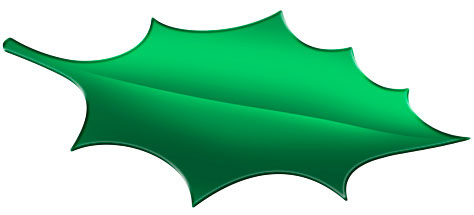
Step 6: Combine the bevels
You should now have two versions of the leaf: one with a large bevel, and a newer one above that with a small bevel. On the most recent layer, choose Layer > Layer Mask > Reveal All to make a new, empty mask. Using a soft-edged brush, paint in black on the bottom half of the leaf to hide the layer and reveal the original leaf below. The beveled edge will now have a much more realistic, three-dimensional appearance.

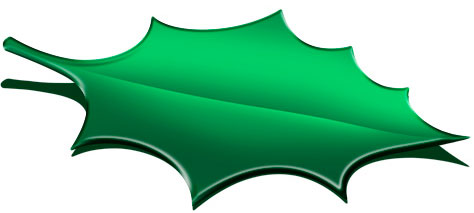
Step 7: Make the shadow
To make the shadow, you first need a new layer beneath the leaf layers. Load up one of the leaf layers as a selection by holding Ctrl/Cmnd and clicking on the leaf layer’s thumbnail in the Layers Panel. Now choose a dark green as the foreground color and press Alt/Option-delete to fill the selection with this color. Go into Free Transform mode and click the Image Warp button on the Options Bar. Drag the handles on the right downwards to curl the ends of the shadow down, so that the leaf appears to rise up at the front and back. Then nudge the whole shadow down a few pixels.
Step 8: Soften the shadow
Use Filter > Blur > Gaussian Blur to soften the shadow’s edges. Then, either by painting in black on a new Layer Mask or simply by using the Eraser tool, paint out the tips of the shadow so that it fades as it gets further away from the leaf.

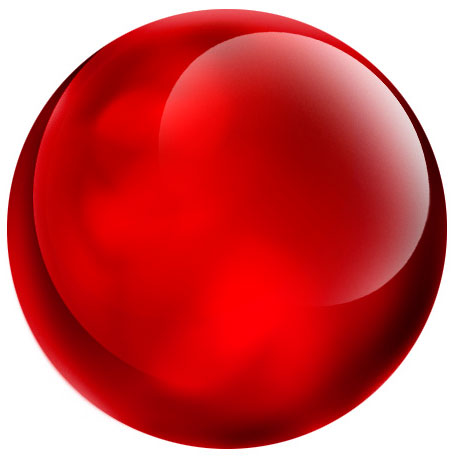
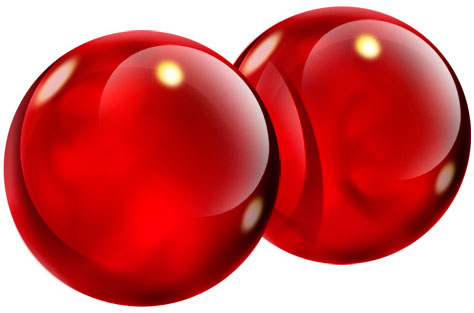
Step 9: Start the berries
You’re finished with the leaf for the time being and can move on to the berries. Make a new layer and use the Elliptical Marquee tool with the Shift key held down to draw a perfect circle. Choose a deep red color, and press Alt/Option-delete to fill the selection with this color. Don’t make it too bright — you’ll add the highlights layer later.
Step 10: Shade the berry
Use the Dodge and Burn tools, set to a low exposure — around 50% — to paint some random dark and bright regions in the berry. At this stage, you aren’t trying to add realistic shading; you just want to give the impression that the berry is displaying a diffuse reflection of a distant room. All that’s needed is a bit of texture.
Step 11: A touch more shading
To complete the shading effect, I duplicated the berry and flipped it vertically.
Step 12: The first hard edge
One of the things that makes glass reflections look convincing is a hard edge between light and dark areas. (Look at any picture of an iPhone and you’ll see how effectively this works.) To create this effect yourself, choose the Elliptical Marquee tool and make a circular selection, then move it so it’s off-center, up and to the right. Now use Select > Inverse so that everything except this circle is selected, and make a new layer, using the berry layer as a Clipping Mask. Use a large, soft-edged brush to paint with black inside the unselected circle. With just the edge of the brush extending out of the circle, you’ll get a soft shading effect, but with a hard edge on the right.
Step 13: A little shadow
Load the berry layer as a selection, and use the brush to paint some true shadow on the other side of the berry. Don’t go all the way to the bottom. When you leave a brighter ring at the bottom right of the berry, it gives the impression of light bouncing off the table onto the underside of the sphere.
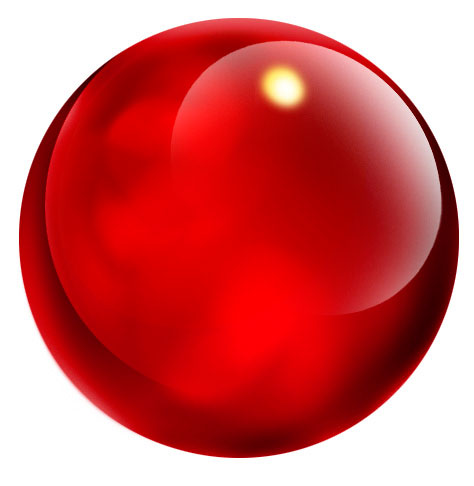
Step 14: The gloss highlight
To begin the highlight, make another new layer. Make a circular selection and use Select > Transform Selection to rotate it so that it’s at a slight angle to the berry. Using a large soft-edged brush, paint in white outside the selected area, so that just the edge of the brush is inside the selection. Paint a gloss highlight at the top right and around the circular selection, but not all the way around. Leave a gap bottom left.
Step 15: Reflected lights
Make a new layer and use a small, soft-edged brush to paint a yellow spot. Then reduce the brush size and paint a white dab in the middle of this spot to create the first highlight.
Step 16: More reflected lights
Duplicate the highlight and use Free Transform to distort it so it’s long and thin; rotate it so it matches the angle of the berry’s edge, and place copies on either side of the berry. The distortion gives the effect of the light spot being bent around the berry, which makes it look more three-dimensional.
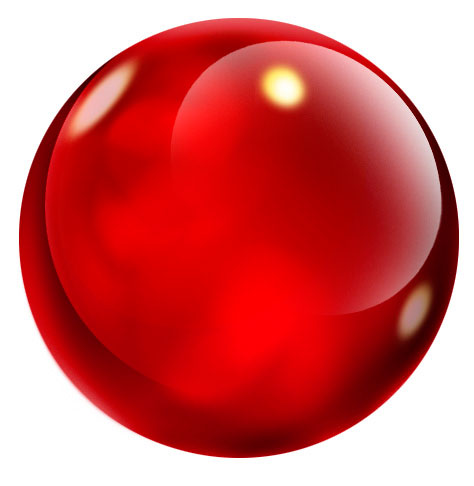
Step 17: One more reflection
Make a circular selection on a new layer, about two-thirds the size of the berry, and paint in black around the top right of the circle. Lower the opacity of this layer so that you get the faint impression of another reflection beneath the highlight.
Step 18: The second berry
Select all the berry layers and choose Layer > Group Layers. Then duplicate the Group and move the copy behind the original. To prevent the duplicate from looking exactly like the original, flip the original shading layers vertically or horizontally, but leave the highlight and shadow layers in place.
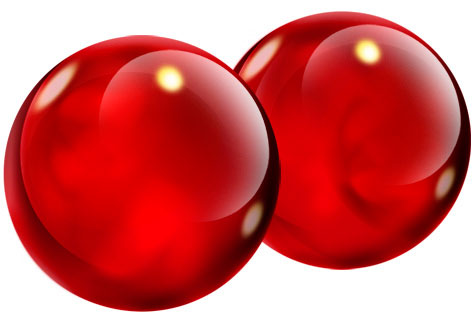
Step 19: The reflected berry
Duplicate the original berry group and merge the group to make it into a single layer. Drag this into the group containing the second berry, and place it above the base layer in this group. Choose Layer > Create Clipping Mask so it’s only visible where it overlaps the layer beneath. Use Free Transform to distort this merged group so that the first berry appears to be reflected in the second. Reducing its opacity slightly will usually produce more convincing results.
Step 20: Reflecting in the leaf
Duplicate both berry groups and merge each one so that you have two new layers for the reflected berries. Flip them both vertically and drag them down so that they’re just beneath the original berries.
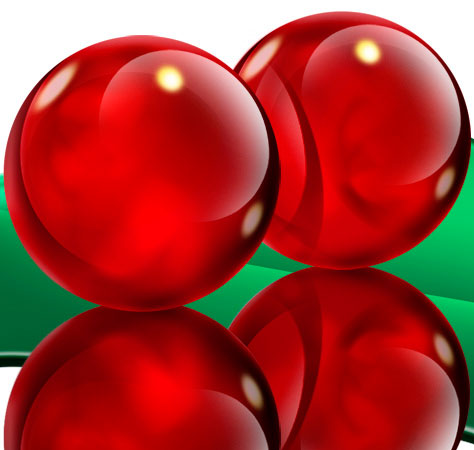
Step 21: A glassier reflection
To make the reflection more realistic, select both berries and choose Layer > Group Layers. Change the mode of this group from Normal to Hard Light, so you can see through it to the leaf beneath. (If you were to simply change the mode of each berry to Hard Light, you’d be able to see one reflected berry through the other, which wouldn’t look right.)
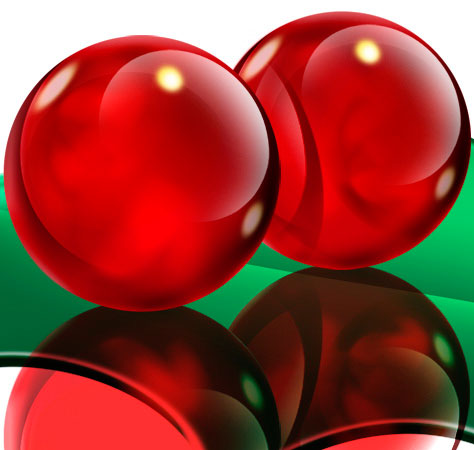
Step 22: Fade the reflection
Make a new Layer Mask for the reflected berry group and use a soft-edged brush to paint in black at the bottom of the mask. This will fade out the berry reflections gradually.
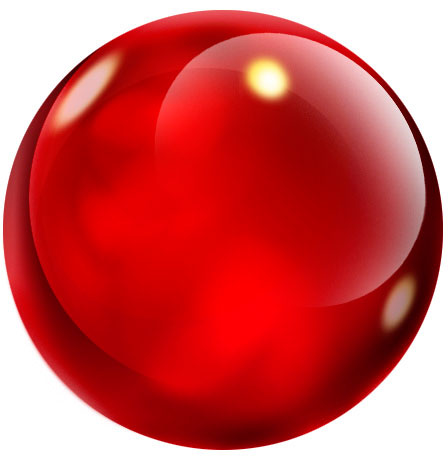
Step 23: An extra sparkle
To bring the whole composition to life, make a new layer and fill it with black. Use Filter > Render > Lens Flare to position the flare center roughly on top of the first berry, and apply the filter. Then change the mode of the layer to Screen, so the black disappears and you see only the lighting effect. Move the layer around, if necessary, so the highlight looks correctly positioned on the berry. Duplicate this layer to add the same effect to the second berry.
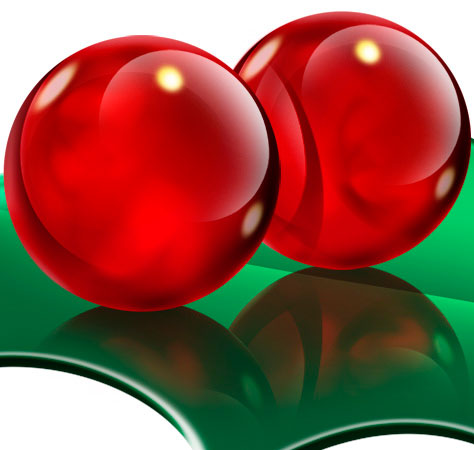
Here’s the finished result. Click the figure to see a larger version in another window:

This article was last modified on July 11, 2023
This article was first published on December 12, 2011
Commenting is easier and faster when you're logged in!

Recommended for you

Webinar: Preparing for Print
Join InDesign print expert Steve Werner as he shows you how to create bullet-pro...

To Save File Size, Make Buttons in Acrobat Instead of InDesign
Need to make navigation buttons that show up on every page? Putting them on InDe...

App Recalls What Using a Typewriter Was Really Like
A while back, I wrote about an iPad app that simulated the awesomeness that was...