Making a Complex Pattern Brush In Illustrator
Making Illustrator brushes from photographic images can be addictive. In a previous CreativePro WOW! posts we covered basic raster image preparation for Illustrator brushes and a fairly straightforward raster pattern brush with an image that didn’t require many adjustments in Photoshop. But what do you do if your image doesn’t fit together seamlessly when made into a pattern brush?
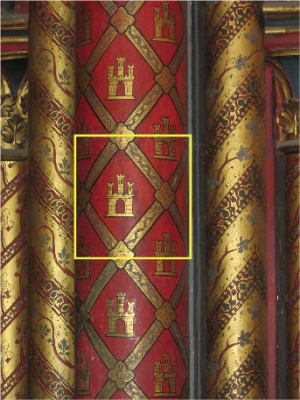
For this example, I chose a selection from an original photograph of the hand painted decorations in the interior of Sainte-Chappelle, a medieval Gothic chapel in Paris. Because the decorations are hand painted, the patterns contain many inaccuracies and asymmetries. Those hand-painted features that make the image so compelling will also force us to do a little more advance work in Photoshop to end up with a seamless pattern in Illustrator. My goal was to minimize the amount of time that I had to spend fixing up the image first in Photoshop.
1. Preparing the Image
The first thing to do when you want to create an Illustrator pattern brush from a raster image is to isolate a section of the image in Photoshop. I made a selection that would match up each design element (the quatrefoils and their connecting paths) when I used it to create the pattern brush. The previous two CreativePro brushes posts go into details about how to mask and crop the selection to trim the image.
The original Photograph and the selection
2. Making Adjustments to the image in Photoshop
In Photoshop, I increased the brightness and made a few other color adjustments by creating a Levels Adjustment Layer.
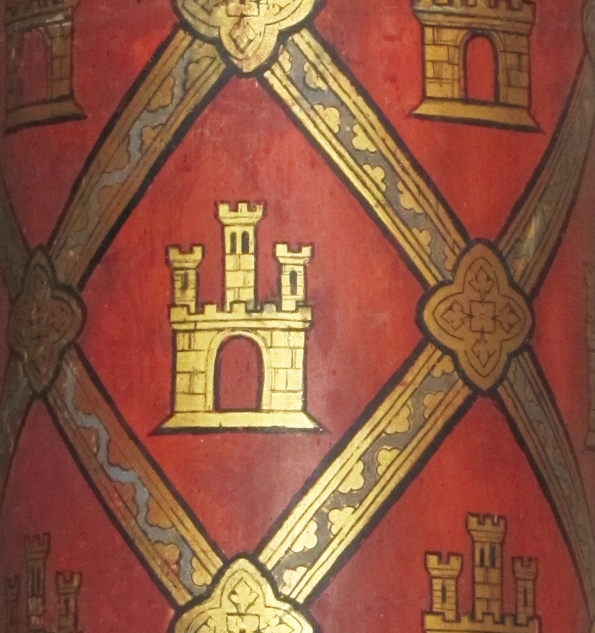
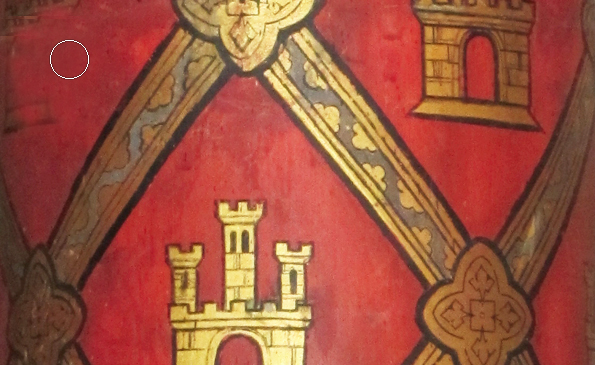
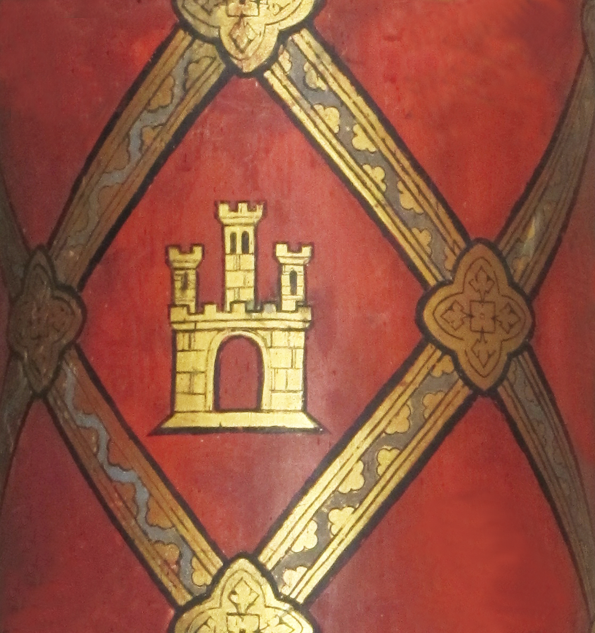
Within the small section that I chose, there were pieces of castles in each quadrant. Rather than even attempt to create a pattern brush that would match each of the castle figures to each other, I opted to remove all of the castle fragments except the one in the middle. Creating a layer above the original image, I used the Clone Stamp Tool tool to paint over the castle parts that I wanted to eliminate. Holding the Option/Alt key, I sampled areas of a similar tone but without a castle. Then with a soft round brush, I painted into the layer above to effectively erase the castle. I changed the brush size using the square bracket keys as I went along, sampling different areas of color and stamping out the castle elements in the corners, leaving only the one full castle in the center. With the selection active, I clicked on the Layer Mask icon (to isolate it), and then chose Image > Crop to trim the file to the size I wanted, and to use as a brush in Illustrator. I saved this layered file as a PSD, and as a smaller PNG file to use as a brush in Illustrator.
Using the Clone Stamp Tool to “erase” the unwanted castle elements with a soft round brush.
The selection (saved as PNG) after all the unwanted castle elements were removed
3. Importing the Image into Illustrator
To use the image as a brush in Illustrator, it must be an embedded image. I opened my castle PNG directly in Illustrator which embeds the image in the file, but you can also bring an image in using Edit > Place, and disabling the Link option. Or to make a brush out of a linked image already in your file, you can select it and click Embed from the Control Panel. Once the image is opened in Illustrator, you’ll want to size it properly to be applied at 100% scale to the desired object (hold Shift while dragging a corner of the bounding box to maintain the original proportions or enable the Link icon to scale with the Free Transform tool).
4. Making the Pattern brush
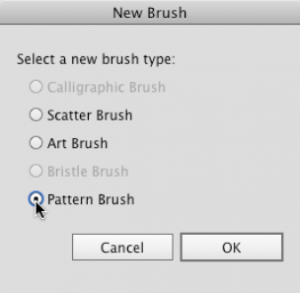
I rotated the image to a horizontal orientation, dragged the image to the Brushes Panel, selected Pattern Brush in the New Brush dialog and clicked OK. In Pattern Brush Options, I kept the Scale at the default 100%. I needed only Outer Corner tiles for the frame, so I selected the Outer Corner Tile, and chose Auto-Centered Corner Tile. I selected the Approximate Path option to maintain the proportion of the path. Then I applied the pattern brush to a path made with the Rectangle Tool, by clicking on the pattern brush in the Brushes panel while the path was selected.
The New Brush dialog box
Selecting Auto-Centered Corner Tile in the Pattern Brush Options
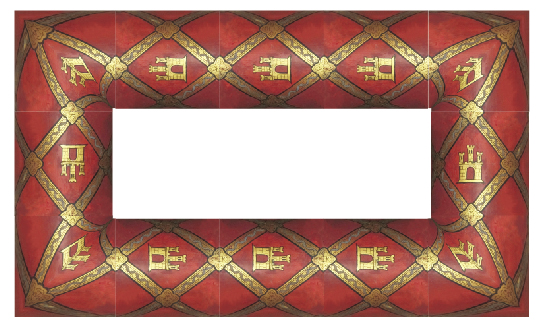
The Pattern brush made with Auto-Centered Corner Tiles
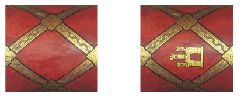
The side tiles looked pretty good, but the castle was squished at the corners. After testing the other Auto-Generated Corner tiles (which resulted in even worse-looking corners), I went back into Photoshop and again using the Clone Stamp Tool, I “erased” the castle from the image, and saved it as a PNG. I now had two image tiles, one with a castle and one without.
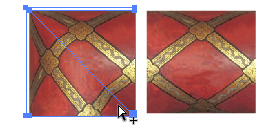
The newly created image after “erasing” the castle, and the original image on the right; both rotated horizontally in Illustrator
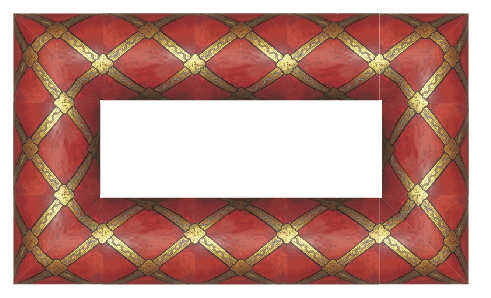
I made a Pattern brush using the image without the castle, (choosing Auto-Centered Corner Tiles), and this is the result of the first and second version (rotated horizontally in Illustrator):
The Pattern brush with Auto-Centered Corner tiles, created using the image without the castle
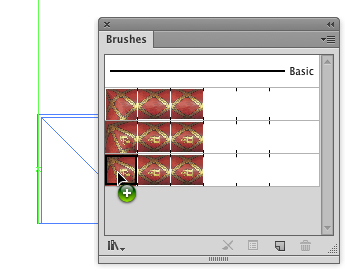
This time the corners looked pretty good, so I decided to use this auto-generated corner, instead of the auto-generated one from the castle pattern. To do this, I first duplicated the castle brush (by dragging it to the New Brush icon in the Brushes panel). Next, to replace this squished auto-generated corner with the smooth one, I selected the pattern brush without the castle and dragged it to the artboard to reveal the artwork that make each of the tiles. With the Direct Selection tool, I selected the artwork that made up the outer corner tile. Then holding the Option/Alt key, I dragged the smooth corner to the Brushes panel directly on top the squished castle auto-corner tile in the duplicate. The result was a new castle pattern brush with a custom smoothed corner.
Selecting the art that made up the smooth corner tile and Option/Alt dragging it on to the previous corner tile to replace it
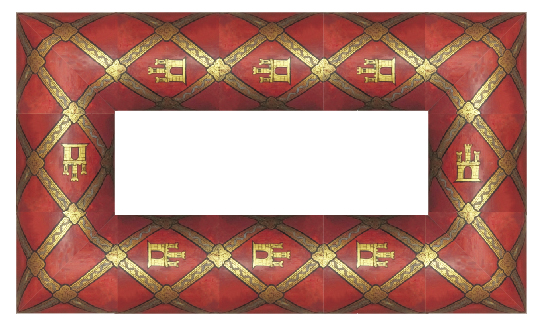
The new pattern brush with the custom corner tiles manually replaced (applied to a rectangle)
***
You can see more examples of Lisa’s Illustrator brushes art in The Adobe Illustrator WOW! Booklet for June 2013 CC Release,https://bit.ly/12F5SMU
(Use the coupon code WOWCC1B at checkout to download the PDF booklet at 35% off retail price), in The Adobe Illustrator CS6 WOW! Book, and as featured in Sharon Steuer’s “Artistic Painting in Illustrator” brushes courses for lynda.com (www.lynda.com/SharonSteuer).


