
Have you ever wanted to create an authentic looking Andy Warhol silkscreen? One of the most influential artists of the 20th century, Warhol was known for his avant-garde paintings and screenprintings. Remember Warhol’s garishly colored celebrity images of Marilyn Monroe, Elizabeth Taylor, or Mao Zedong? In the studio he called The Factory, Warhol took an assembly-line approach to his high-contrast, silkscreens and produced art as a mass consumable, like a t-shirt or a pack of gum. His art is still popular today, and there are lots of one-click Warhol solutions. But if you want the real thing, join Deke McClelland in the final episode of this dekePod series, as he dissects Warhol’s process, and shows you how to use Photoshop to render your favorite portrait in bona-fide Warhol magnificence.
Despite its minimalist appearance, the Warhol silkscreen technique is actually fairly involved. Deke will post an article documenting the many steps in late June 2009. In the meantime, the dekePod below (click to start it playing) shows you everything, provided that you take the time to review the frames.
This article was last modified on December 14, 2022
This article was first published on June 17, 2009
Commenting is easier and faster when you're logged in!

Recommended for you
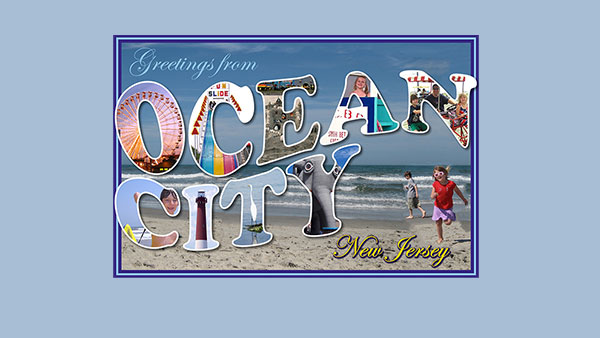
Creating a Postcard in Photoshop
The Project: to make a fun postcard image from a beach vacation in the iconic...
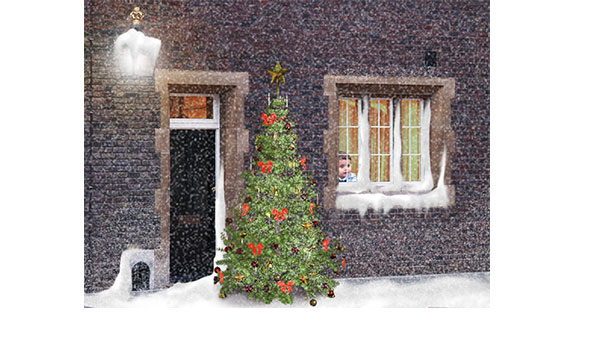
How to Create a Snow Scene in Photoshop
Too late to get your Christmas cards printed? You can still make an email card a...

Photoshop for Beginners
Becoming a Photoshop expert is probably on a lot of folks’ bucket lists. W...