Photoshop Blur Gallery: Spin Blur
The Blur Gallery filters in Photoshop offer an innovative, highly controllable way to apply selective blurs to images. A real bonus is the fact that these filters work on Smart Objects as well as regular layers: this means that if you convert your layer to a Smart Object first, you’ll be able to go back into it at any time and change the filter’s settings.
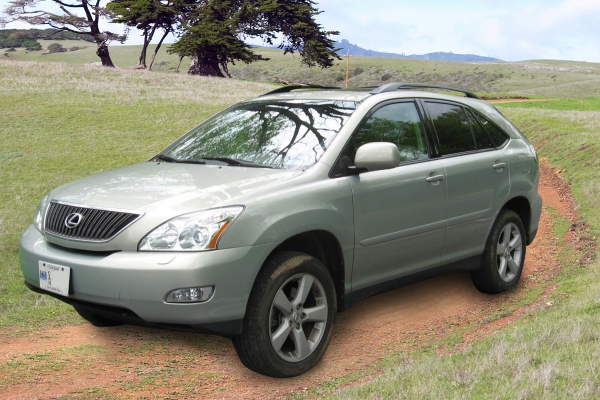
Here, we’ll see how to use the new Spin Blur filter to make this car’s wheels appear to be turning. Using conventional Photoshop techniques, we’d have to copy the wheel to a new layer, distort it to make it perfectly circular, apply the hit and miss Radial Blur filter, and then distort it back again. Now, we can do the whole thing in one shot.
1. Open the Blur dialog
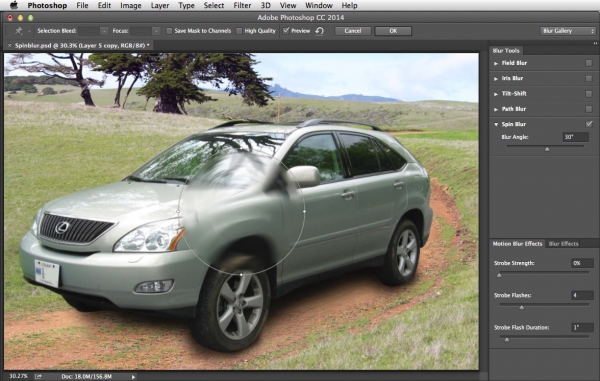
After (optionally) turning your layer into a Smart Object, choose Filter > Blur Gallery > Spin Blur. You’ll see the effect at full screen, with the blur initially appearing right in the middle of the image:
2. Drag the blur
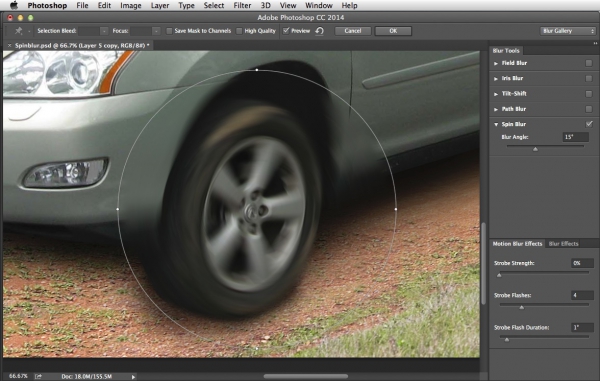
Drag anywhere within the blur area to move it to your new location. Here, I’ve placed it right over the front wheel, and zoomed in to see the wheel more clearly. As it stands, it’s not a very convincing blur:
3. Adjust the blur shape
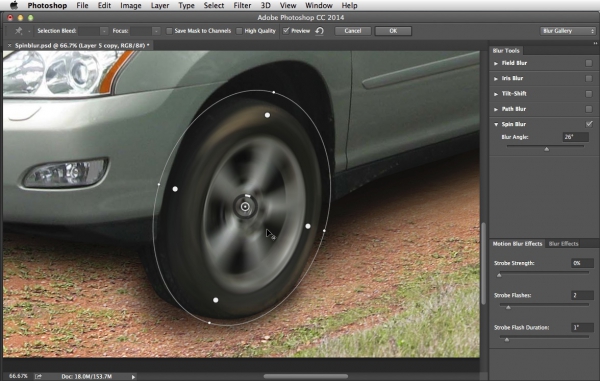
With Spin Blur, you can not only drag the four outer handles (top, bottom, left and right) to change the shape from a circle to an ellipse, you can also rotate the whole blur shape so that it operates at an angle. This gives it tremendous flexibility:
4. Move the center
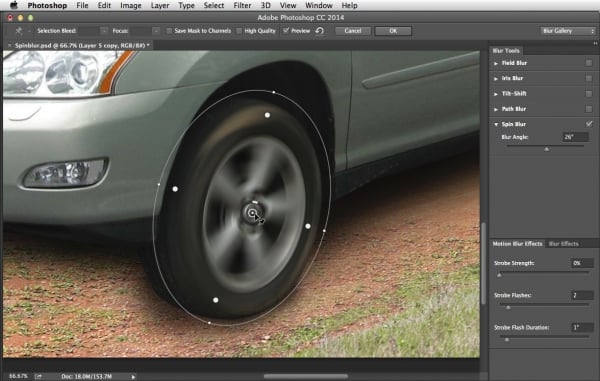
The other really neat trick is that you can move the center of the blur to anywhere you like. Hold the alt/option key, and drag it to its new location. Here, offsetting it to the middle of the hubcap produces a much better blur:
5. Adjust the fade-off
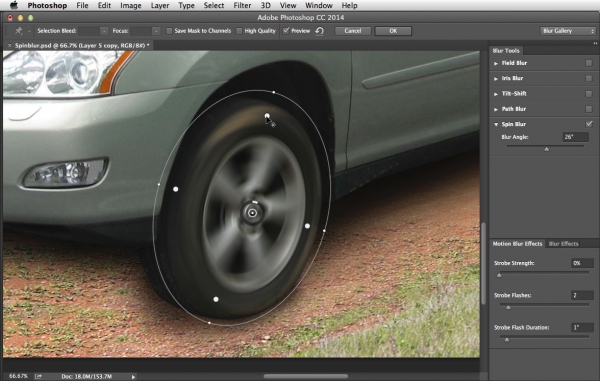
The outer perimeter of the ellipse marks the edge of the blur. But it doesn’t have to be a sharp cutoff between the blurred and the unblurred portion of the image. Drag any one of the white circles just inside the perimeter to set the fade-off amount. Note that you can’t position these independently; drag one, and they’ll all move in tandem:
6. Set the spin
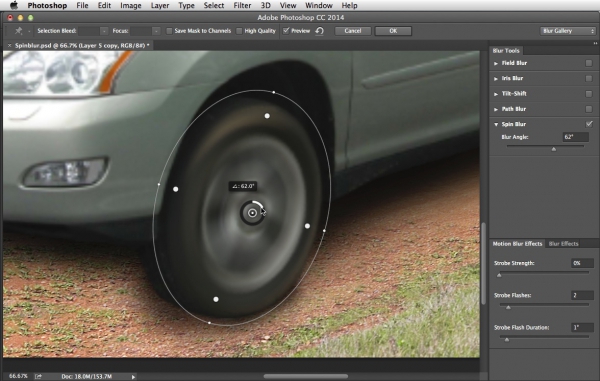
You can set the angle of the spin in two ways. For a hands-on, Head-Up Display approach, drag the circle right in the middle of the blur—the further you drag, the more the amount of spin. But it can be hard to set precisely this way. For more control, drag the slider in the Blur Tools panel, or even type the value into the numerical field:
7. Repeat the process
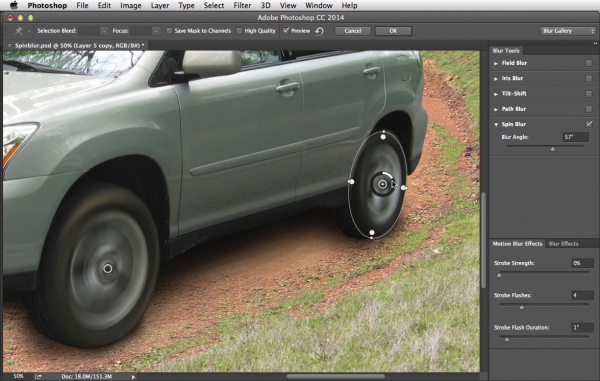
One of the best things about the Blur Gallery is that you can apply multiple blurs to the same image, without leaving the dialog. Clicking on the rear wheel produces a second Spin Blur effect, and you can change its shape and spin amount in exactly the same way to produce a matching blur on both wheels:
8. The finished result
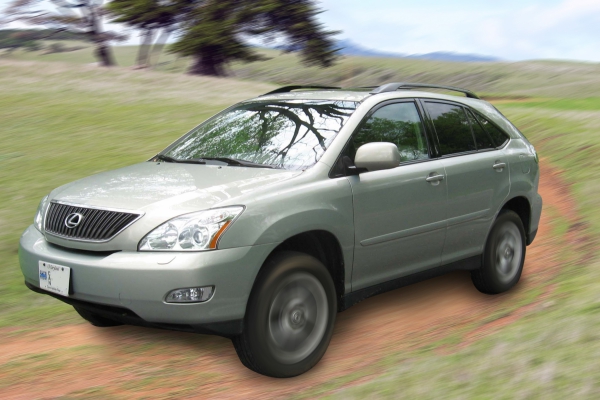
Here’s the result of spinning both wheels – the car now looks much more like it’s in motion. Here, I’ve also blurred the background using the Path Blur technique, which we’ll look at in a future tutorial:


The problem is that in real live the bottom of the wheel does not spin, it is touching the ground so it can not move, the top of the wheel moves twice as fast as the car, the center of the wheel moves with the speed of the car. The end result of your example looks like a photoshop disaster to me.
ok