

Here’s a super-simple technique for enhancing the most important bits of any portrait: the eyes. It’s a quick and painless way to make the eyes really stand out and take on a slightly sultry and burning look. To illustrate, we’ll use a photo of a beautiful woman culled from the vast database over at iStockphoto.com.
Arrange Your Workspace
Step 1
Pop open the photo and immediately duplicate the background layer (Figure 1) by pressing Command + J (PC: Ctrl + J). You don’t have to do this, but it’s a good idea to protect thyself from, well, thyself, and it’ll also give you a way to back off of the effect in case you overdo it.
NOTE: You could also select just the iris area with the Lasso tool and jump that up onto its own layer. If you have other retouching to do, that might be the best choice.
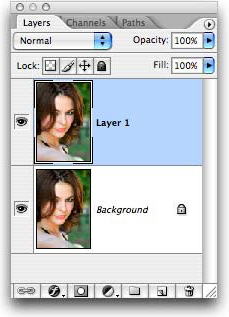
Figure 1
Step 2
Choose Window > Arrange > New window for [document name]. Zoom into the new window so you can see what you’re doing by pressing Command + (PC: Ctrl + ), and keep the original window at roughly the size at which the image will print (Figure 2). This will allow you to see how much of an effect the enhancement is having. Anything you do in one window is automatically reflected in the other. It’s a handy way to work when you’re retouching.
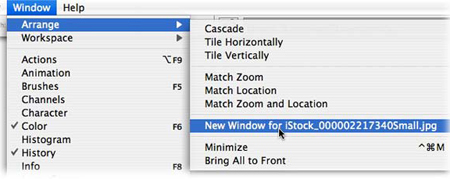
Figure 2
My workspace now looks like Figure 3:
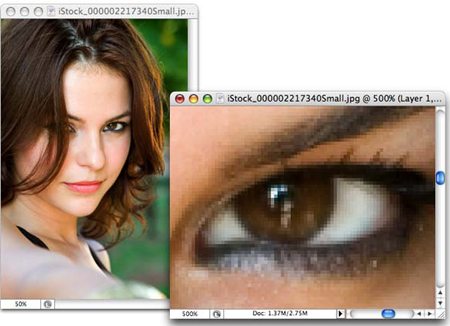
Figure 3
Enhance the Iris
Step 3
Grab the Dodge tool (circled in red in Figure 4) and immediately cast your eyes upon the options bar at the top of your screen. Lower the Exposure to about 30%. Mouse over to the photograph and size the brush cursor so that it fits only the iris area (be careful not to brush over the dark outer edge of the iris).
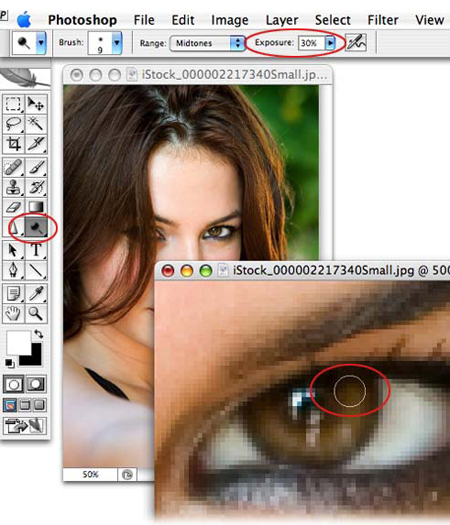
Figure 4
TIP: Press the left bracket key, [, to cycle up in brush size, and the right bracket key, ], to cycle down.
That’s really all there is to it. Because you lowered the Exposure, you can “build” the effect to the intensity you like by continuing to dodge the iris. If you go a little too far, you can decrease the opacity of the duplicated layer to lessen the effect, as you see in Figure 5:
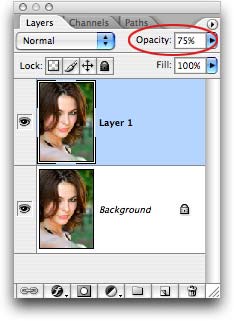
Figure 5
Figure 6 shows the before and after:
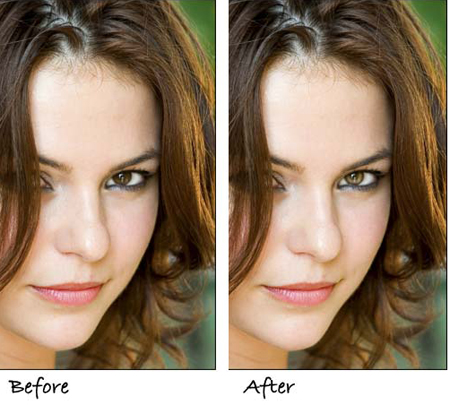
Figure 6
A simple, yet effective technique. That’s the way I like ’em!
This article was last modified on January 4, 2023
This article was first published on February 16, 2007
Commenting is easier and faster when you're logged in!

Recommended for you

Do You Have a Color Vision Deficiency?
Want to find out if you have any deficiencies in your color vision? Try the the...

CreativePro Tip of the Week: Using the Navigator panel in Photoshop
This CreativePro Tip of the Week for Using the Navigator panel in Photoshop was...

Bringing Out Shape and Detail in the Darkest of Colors
Light Hogs “Is there detail in the blacks?” If you ever asked this question when...