


This story is taken from Real World Adobe Photoshop CS.
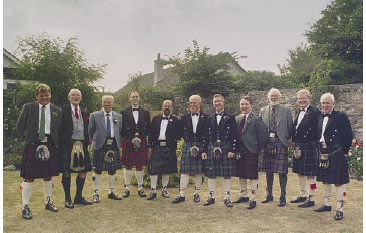
Very few of us shoot the perfect photograph right off the bat. Even traditional photographers employ a variety of techniques in the darkroom to improve their images. That’s why Photoshop includes tools for dodging and burning as well as applying level and curve adjustments. These features are the digital equivalents of the photographers darkroom equipment.
Every time you apply tonal and color changes to an image, however, you alter its information, which means the image ultimately starts degrading. Is there any way to edit images in Photoshop without destroying them?
Yes. Adjustment layers let you apply edits to images without touching the image itself. The layers float above the image, allowing you to experiment with different options in a non-destructive way. As David Blatner and Bruce Fraser describe it: Your raw image is like a negative that you can print through many different filter pack combinations on many different contrast grades of paper. You can make huge changes from print to print, but the negative itself doesn’t change.”
Learning to use adjustment layers can be a liberating experience.
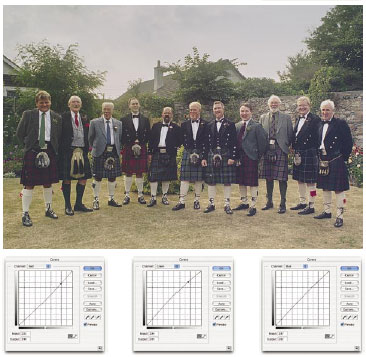
In this excerpt from Real World Adobe Photoshop CS, David Blatner and Bruce Fraser tell you how to apply traditional retouching techniques to photos using adjustment layers in Photoshop.
We’ve posted this excerpt as a PDF file. Click The Digital Darkroom to open the PDF file in your Web browser. You can also download the PDF to your machine for later viewing.
To open the PDF, you’ll need a full version of Adobe Acrobat (5 or higher) or the Adobe Reader, which you can download here..
To learn how to configure your browser for viewing PDF files, see the Adobe Reader tech support page.
Excerpted from “Real World Photoshop CS” © 2004 David Blatner and Bruce Fraser. Reproduced by permission of Pearson Education, Inc. Publishing as Peachpit Press. ALL RIGHTS RESERVED.
This article was last modified on January 3, 2023
This article was first published on December 15, 2004
Commenting is easier and faster when you're logged in!

Recommended for you

CreativePro Tip of the Week: Matching Zoom and Location in Photoshop
This CreativePro Tip of the Week on matching zoom and location in Photoshop was...
Adobe Paper Textures by Russell Brown
You can completely change the mood evoked by an image by adding textures and ble...

How to Make a Terminator Robot Effect in Photoshop
Arnold Schwarzenegger’s iconic robotic endoskeleton was a defining feature...