
Photoshop Smart Objects Mean Never Having to Say You're Sorry

A Photoshop Smart Object is a version of your original text or graphic, a sort of proxy. You can edit and re-edit a Smart Object without losing one pixel of information, and the changes you make to a Smart Object never affect the original (unless you want them to).
If you’re familiar with Illustrator or Flash, think of Smart Objects as the Photoshop cousins of Symbols. One symbol can have an infinite amount of instances, with different sizes, placements, and occurrences. If you change the source symbol, all instances of that symbol reflect that change.
Still confused? Don’t worry — walking through the following steps will make it clear. Once you’re used to creating variations in your images without destroying an original, you’ll be hooked.
To download the two Photoshop files I’ll work with in this article, click the following link:
Smart_Files.zip
1. Place an Image into an Existing Photoshop File
To create a Smart Object, you can place an image or element into an existing Photoshop document, or convert an existing layer object to a Smart Object.
Let’s start with an existing file, smartboats.psd (Figure 1).

Figure 1. This is a normal Photoshop file.
Place the file boat.psd (File Place) into smartboats.psd. Photoshop automatically creates a new layer for the new image and makes it a Smart Object (Figure 2).

Figure 2. Note that the Placed image is in a bounding box with an X through it.
Apply the placement by double-clicking the new object. Look closely at the layer palette and you’ll see that the thumbnail for the new boat layer has a small box in its lower right corner (Figure 3). That icon signifies that the layer, and the contents within that layer, are Smart Objects.

Figure 3. When something becomes a Smart Object, its Layer palette icon changes.
2. Edit the Smart Object
As you can see, the new layer needs cleaning up before it can blend into the background image. If you try to select some bits using the magic wand and delete them directly on the canvas, you’ll get an error dialog window (Figure 4).
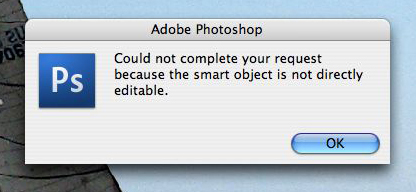
Figure 4. Uh oh. Now what?
To edit that Smart Object, you have to access it through the Layers palette. Double click on the thumbnail of the smart layer, not the name.
A warning dialog window (Figure 5) alerts you that the original you are about to edit must keep its location path intact for Photoshop to keep it as a valid and live Smart Object. Click OK.
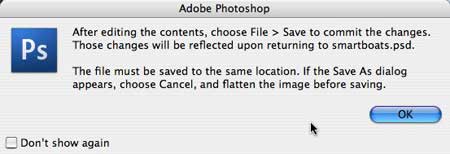
Figure 5. Just click OK and move on.
Now, double-click the Smart Object. It opens in a separate edit window, ready for you to edit. Remove the background behind the sailors, then save the file. There’s no need to close the Smart Object’s separate window. Photoshop automatically updates smartboats.psd to reflect your edits (Figure 6).
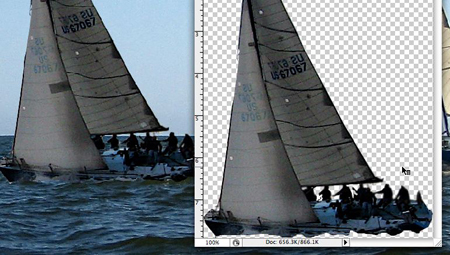
Figure 6. No more gray behind the sailors.
3. Duplicate the Smart Object Layer
You can use your newly edited Smart Object in a number of ways. First, let’s create another instance of the Smart Object boat layer.
In the Layers palette, select the Smart Object layer and duplicate it by dragging it to the Create a New Layer icon, or by choosing Duplicate Layer from the Layers palette’s drop-down menu. Change the name of the duplicate Smart Object layer from “boat copy” to “boat2”.
4. Resize the Duplicate
With the new boat 2 layer selected, drag the new Smart Object to the left of the canvas and resize it (Figure 7).

Figure 7. I used the Free Transform command (under the Edit menu) to shrink the duplicate Smart Object.
5. Fix Lighting Differences
To make this scene more realistic, you’ll need to fix the lighting and contrast differences among the original boat and the duplicate Smart Objects.
In the Layers palette, move the boat2 layer below the boat layer. Double-click the boat layer thumbnail to open the Smart Object in its own window again.
Go to Image > Adjustments > Levels. In the Levels dialog box, bring up the midtones a bit (Figure 8).

Figure 8. While far from perfect, this will do for a beginning adjustment.
6. Flip It
You can treat each duplicate Smart Object layer as a separate object in terms of its sizing, orientation, and shape distortion. For example, you can select the boat2 layer and go to Edit > Transform > Flip Horizontal. It flips without affecting the boat layer (Figure 9).
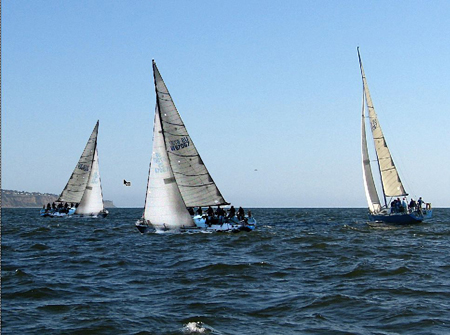
Figure 9. Is it a highly localized wind shift, or Flip Horizontal?
7. Adjust It Further
With the boat2 layer still selected, go to Image > Adjustments. Since you’re working with the instance of the Smart Object, not the original, you have only limited access to adjustments, but you can get to Shadows/Highlights (Figure 10).
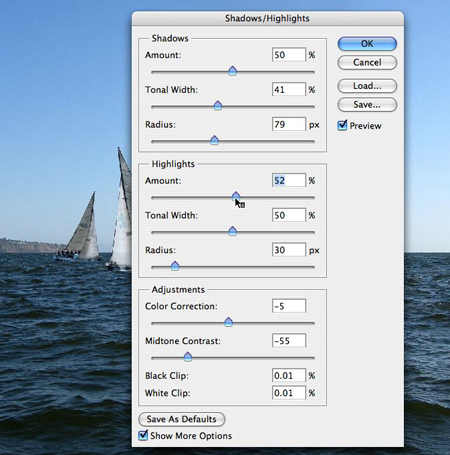
Figure 10. The Shadows/Highlights dialog.
In the resulting dialog box, make adjustments until you’re satisfied with the appearance of the boat2 layer.
8. Explore Smart Filters’ Possibilities
Now look at the Layers palette. Do you see the changes to the boat2 layer (Figure 11)?
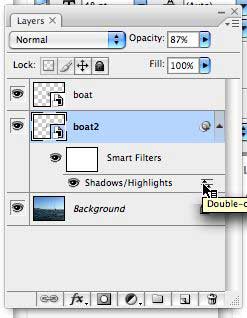
Figure 11. Suddenly, a Smart Filter appears.
When you make adjustments to an individual smart instance, the adjustments become Smart Filters — that is, non-destructive, editable filters. In this case, the white rectangle named Smart Filters is a layer mask. In a Smart Object layer (also called a Smart Layer), you can continue to make adjustments and revisions within that layer that affect only that Smart Object. You’ll never destructively edit the original or other instances of the object.
I’ll show you just one example of a Smart Filter’s potential power by changing the filter’s mode. Since the Smart Filter is working as a sort of layer-specific adjustment layer, it also has its own layer mode. By default, the layer mode is Normal. To change that to, say, Darken or Multiply, you need to access the mode controls.
Click on the small slider icon on the right of the Shadows/Highlights layer. It will open a small window in which you can make Mode changes (Figure 12).

Figure 12. You can access the mode of each Smart Filter through the small slider icon in the Smart Filter layer in the Layer palette.
9. Apply the Final Touches
After a few more resizings and a horizontal flip of one of the Smart Object boats, the image looks much more convincing (Figure 13).
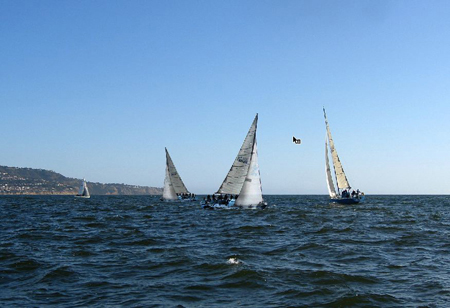
Figure 13.
Smart Objects and Smart Filters give you tremendous freedom. In just a few years, we’ll wonder how we ever lived without them.
This article was last modified on January 5, 2023
This article was first published on November 9, 2007
Commenting is easier and faster when you're logged in!

Recommended for you

Combining Custom Distortions with Image Warp in Photoshop
Photoshop’s Image Warp tool is great for bending layers into any shape. Of...
Creating Latte Art With Pixelmator
As a Photoshop user, you’re no doubt used to being asked to perform the im...

Essential Tips for Working with Photoshop Masks
These quick tips will come in handy whenever you need to hide content on a layer...