
Photoshop Tips: Burning Questions Answered

Excerpted from the upcoming book Adobe Creative Suite 2 Workflow (O’Reilly, 2005). It will be for sale later this year.

Each chapter in Adobe Creative Suite 2 Workflow features the top 15 questions designers ask about each application in Adobe’s Creative Suite 2. Here are three of the top 15 questions about Photoshop, with our step-by-step answers.
How do I export layers to individual files?
Occasionally, you’ll come across or create a Photoshop file that has several layers. You can extract a single layer or many layers to use as individual images.
To export layers to files, open the Photoshop file that has images on different layers that you’d like as individual files. Choose File>Scripts>Export Layers to Files (Figure 1).

Figure 1
In the Export Layers To Files dialog box (Figure 2) that appears, enter a name in the File Name Prefix text box. This name will be the prefix for each of the files.
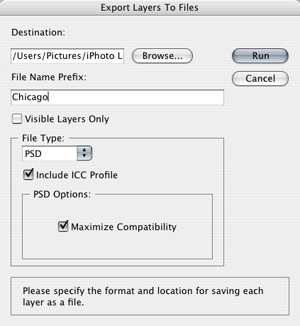
Figure 2
Click the Run button, and each layer will be exported as an individual file.
How do I create an image with a transparent background?
By default, most images in Photoshop open up with a solid (usually white) background color. When you “delete” pixels, you’ll be changing them to white. In order to create an empty background, you’ll need to use layers, as explained below.
To make the background of an image transparent, open the image for which you want to change the background. Figure 3 shows a typical digital camera image opened in Photoshop. Note that the Layers palette has a single layer, “Background.”

Figure 3
In the Layers palette, press Option/Alt and double-click the Background layer. This will change that layer into a “real” Photoshop layer that can deal with transparency. This change is shown in Figure 4. Note that the word “Background” in italics has been replaced by the non-italic “Layer 0.” If you don’t press Option/Alt when double-clicking, you’ll get a dialog box that allows you to change the name of the layer when creating it.
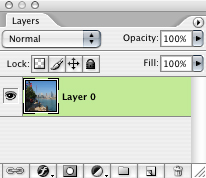
Figure 4
Using any combination of selection tools (the Magic Wand/Lasso combination tends to work the best), select the background of the image, as shown in Figure 5.
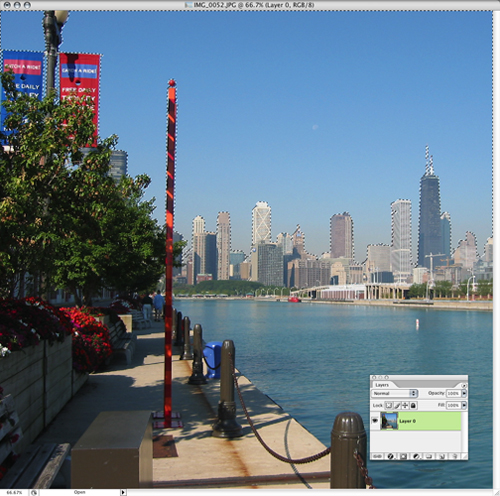
Figure 5
If you want to add a semi-soft edge to the image, choose Select>Inverse to choose the image, choose Select>Feather and then enter a value such as 1 or 2 pixels in the Feather Selection dialog box. This will soften the edge of the image so that there won’t be jaggies between the background and the image. After feathering, choose Select>Inverse again so that the background, and not the image, is selected.
Press the Delete (or Backspace) key on your keyboard. The background will be removed (Figure 6). When you save the image for placing in another Creative Suite application, be sure to save it as a .psd image so that the transparency is preserved.

Figure 6
How do I remove red eye?
Anyone who has futzed around with a camera’s red-eye functionality will tell you it’s not worth it. Digital camera red-eye options work by faking out the eyes of the subjects: a preliminary flash is set off that causes the pupil of the subjects’ eyes to contract, reducing or eliminating the red eye effect that is caused by dilation of pupils and the reflection of the flash in those pupils. But the initial flash confuses the subjects and many of them blink, move, or stop smiling, resulting in a totally unusable picture. Photoshop’s new Red Eye tool is a great, super-fast tool for correcting red-eye problems. And it’s incredibly easy to use. The trick is finding it.
To remove red eye from an image:
InPhotoshop, open the image that has red eye, like the one shown in Figure 7.
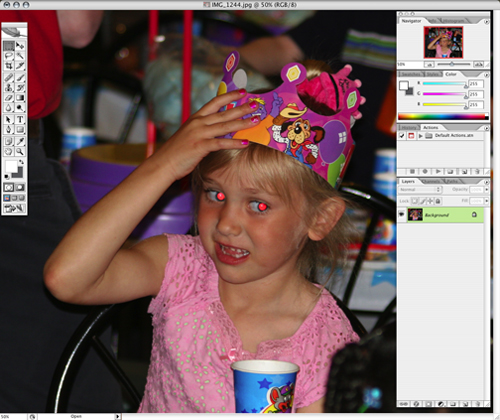
Figure 7
Choose the Red Eye tool, which is hidden away in the Healing Brush tool slot (Figure 8).
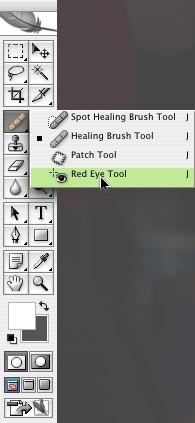
Figure 8
Drag the tool across the area where the eyes are and release the mouse button. Photoshop will find the red eyes (Figure 9). If you don’t get the result you wanted (for example, part of the eye might still be red), you can use the tool again, or you can undo and change the settings in the Control palette at the top of the screen and then retry.
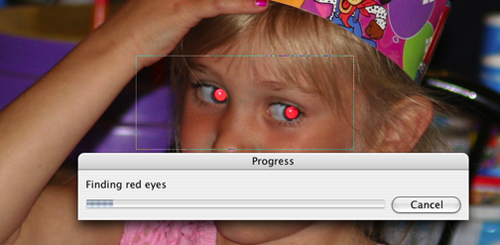
Figure 9
The eyes will change to mostly black (to represent pupils), as shown in Figure 10.

Figure 10
Material from this article was written by Jennifer Alspach, and has been excerpted from the upcoming book Adobe Creative Suite CS2 Workflow, from O’Reilly Media (digitalmedia.oreilly.com), to be published in December, 2005. © 2005, O’Reilly Media, Inc., all rights reserved.
This article was last modified on January 18, 2023
This article was first published on September 12, 2005
Commenting is easier and faster when you're logged in!

Recommended for you

Scanning Around with Gene: Getting That New Bike Down the Chimney
Vintage images and memories from when a shiny new bike was the ultimate Christma...
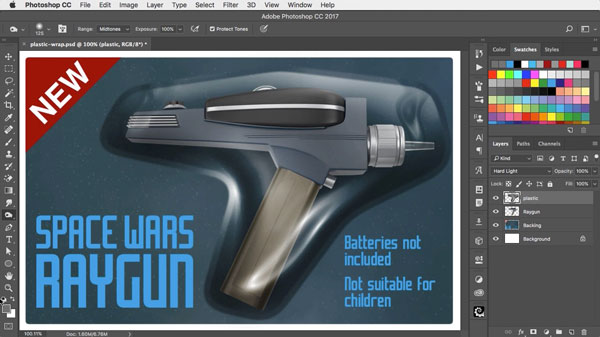
Using Photoshop’s Plastic Wrap Filter
Photoshop’s Plastic Wrap filter is great at creating liquid effects of all...

Creative Blöks: The Flat-Footed Naysayer
A creative endeavor is an adventure in every sense of the word. Like most design...