


Reproduced with permission of Planet Quark
Control Photoshop Layers in QuarkXPress
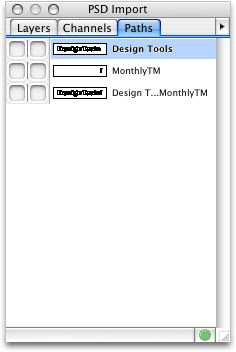
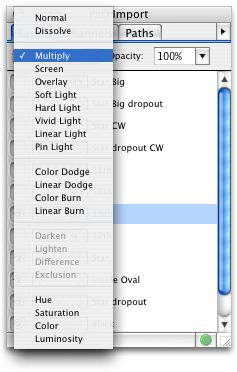
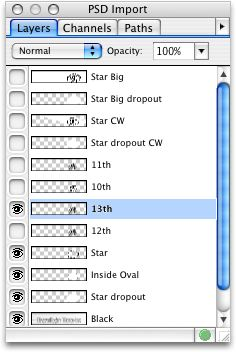
Both QuarkXPress 6.5 and 7 let you control the visibility of layers in your imported Photoshop graphics. In QuarkXPress, select an imported Photoshop picture and then open the PSD Import window (Window> PSD Import).
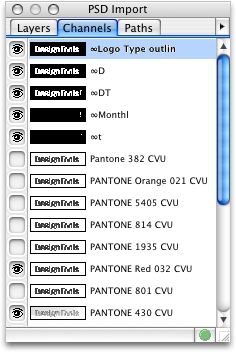
There, you can turn layers on and off, adjust their opacity and blend mode, and access channels and paths.
Inline Graphics, Outside the Box
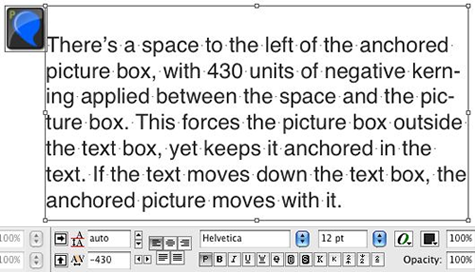
One question I frequently hear from QuarkXPress users is: “Is there a way to anchor a picture box in a text box, yet have it hang outside the box and follow along when the text flow changes?”
Well, yes. I can think of two ways to do this. One trick would be to paste the picture box as an anchored graphic at the beginning of the paragraph, then type a space before it. You could then kern back over the space a considerable amount, putting the graphic outside text box.
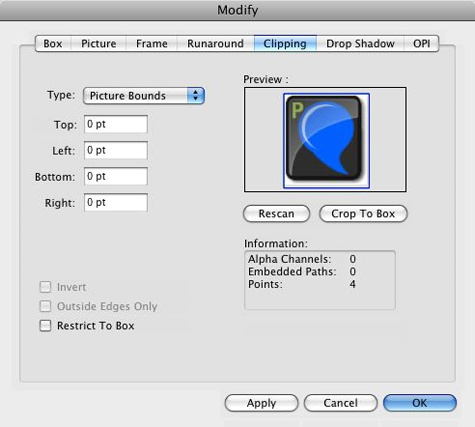
Another trick would be to turn on the automatic Clipping Path for that picture, then turn off the checkbox labeled Restrict to Box:
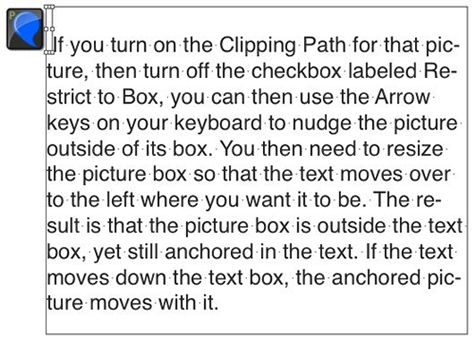
You could then use the Arrow keys on your keyboard to nudge the picture outside of its box. You then need to resize the picture box so that the text moves over to the left where you want it to be.
If you have a lot of these to format, you could copy and paste the beginning of your formatted text, including the hanging graphic, from one paragraph to the next. Then just replace the graphic in the box with a new graphic and press Command-Option-Shift-F. This will fit the new graphic proportionately into the existing picture box. (Windows: Ctrl-Alt-Shift-F)
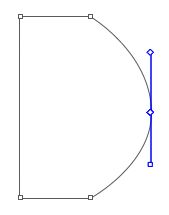
Add Curves to Boxes
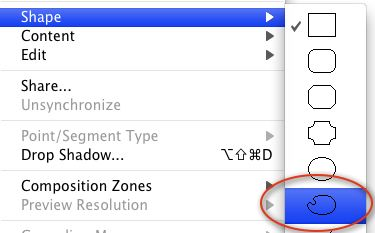
It’s easy to change a rectangular box into a curvy one in QuarkXPress. First, select the box, then choose Item> Shape> curvy-shape to convert it to an editable box shape.
Then with either the Item tool or Content tool, select any existing point and press Option/Alt-F2 to convert it to a smooth point. Or, holding down the Option/Alt key, click-and-drag on the edge of the box to create a new anchor point, then press Option/Alt-F2.
This article was last modified on December 14, 2022
This article was first published on July 7, 2008
Commenting is easier and faster when you're logged in!

Recommended for you

Thou Shall Not Use Comic Sans
Excerpted from Thou Shall Not Use Comic Sans: 365 Graphic Design Sins and Virtue...

Aperture Bites the Dust
Apple recently stopped development of Aperture, the company’s professional...

Creative Cloud Storage: Where Does It Go?
When you create using Adobe Creative Cloud applications, where is your work save...