


The steps below summarize the two-pass sharpening technique described in “Out of Gamut: A Two-Pass Approach to Sharpening in Photoshop.”
STEP 1: Sharpen to Correct the Image
CREATE EDGE MASK
- Duplicate your image, using Image>Duplicate… and leaving the original image open
- Convert the duplicate to grayscale (duplicating one of the color channels using the Channels palette often works well)
- Isolate the edges using Filters>Stylize>Find Edges
- Apply a Gaussian Blur to soften edges and reduce noise
- Invert the mask, by choosing Image>Adjust>Invert
- Exaggerate the contrast of the mask using Image>Adjust>Levels
APPLY EDGE MASK
- Make the original image active, by selecting it from the Window menu.
- Load the edge mask into the image by choosing Select>Load Selection and making sure the name of your duplicate file is entered as the source document
SHARPEN EDGES
- Press Command-H (Mac) or Control-H (Windows) to hide the selection outline
- Sharpen the selection defined by the mask using Filter>Sharpen>Unsharp Mask…
- Press Command-H (Mac) or Control-H (Windows) to restore selection outline (to avoid unintentionally acting only on the selection again)
Step 2: Sharpen for the Output Device
- If necessary, use Select>Deselect to turn off edge-mask selection
- Sharpen as appropriate for your output device
This article was last modified on June 17, 2023
This article was first published on March 20, 2001
Commenting is easier and faster when you're logged in!

Recommended for you
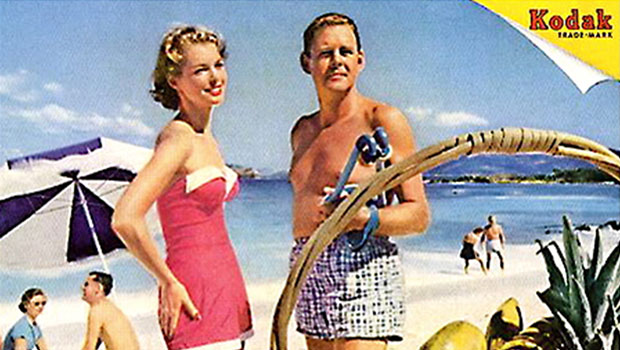
Heavy Metal Madness: I'm Looking Through You. Where Did You Go?
I’m a bit late in this eulogy to a couple of products from Eastman Kodak t...
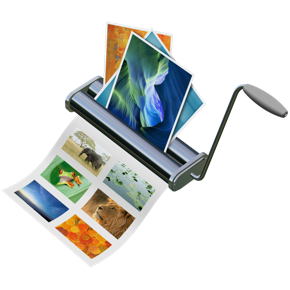
Create Beautiful Contact Sheets Easily With DiapoSheet
If you need to build a contact sheet of images you have lots of options. You can...
Big Discount on Topaz DeNoise
Topaz Labs is currently offering a deal where you can get their photo noise redu...