
Photographs are great for print projects and Web sites, but sometimes you want something a little different.
Changing a photo into a duotone makes it look more like an illustration, and a duotone’s simple color scheme can be easier to coordinate with an overall design.
Step 1
Click on Figure 1 below to open a larger version in another browser window. Save that image to your computer and name it “before.jpg”.
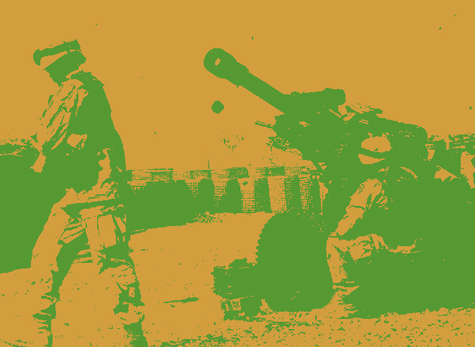
Figure 1. Click on this image to open a larger version you can save to your desktop.

This file is in the public domain because it’s from the United States Army’s image database.
Step 2
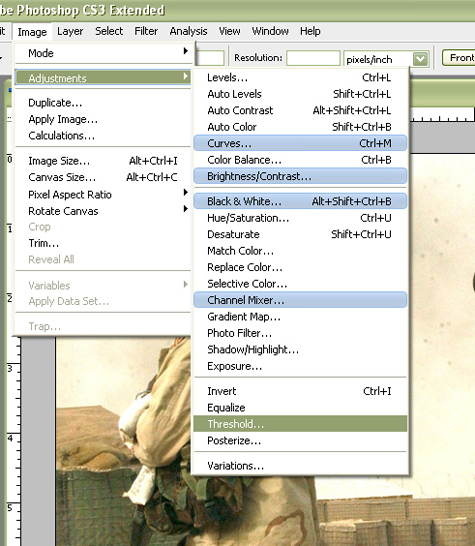
Open “before.jpg” in Photoshop and go to Image > Adjustments > Threshold (Figure 2).
Figure 2.
Step 3
Click and drag on the Threshold’s bottom slider to adjust its levels (Figure 3). The farther you move the slider to the left, the whiter the image will be. The farther you move it to the right, the blacker the image will be. The key to a successful duotone is to have a good balance between the dark and light pixels. You want the important parts of the photo to show, and good detail and balance between the two tones.
Figure 3.

Set this image’s level to 151 and click OK.
Step 4
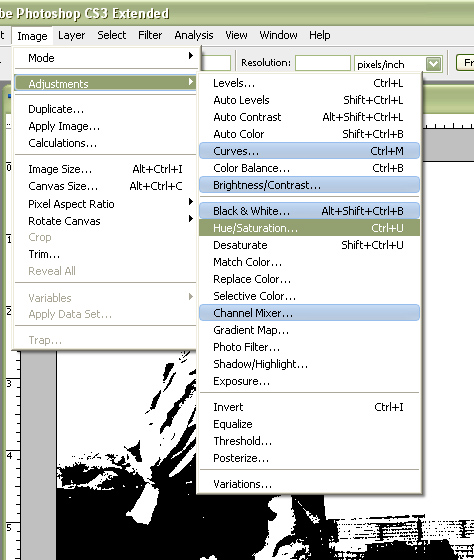
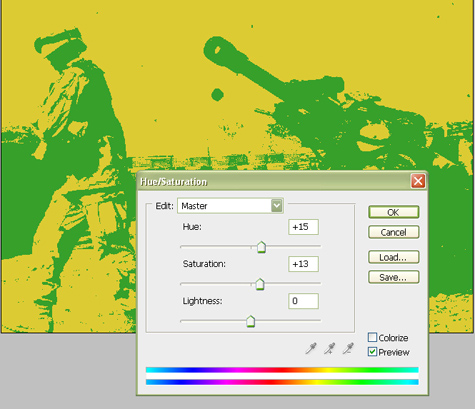
Now that you have a black-and-white duotone look, let’s add some color. Go to Image > Adjustments > Hue/Saturation (Figure 4). [insert step4.jpg]
Figure 4.
Step 5
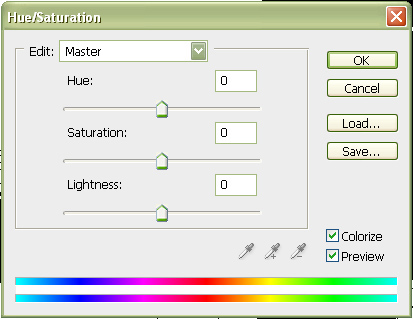
The hue/saturation dialog has three settings to adjust: hue, saturation, and lightness. To preview the effect the settings will have, check the Preview box. Next, check the Colorize box (Figure 5).
Figure 5.
Step 6
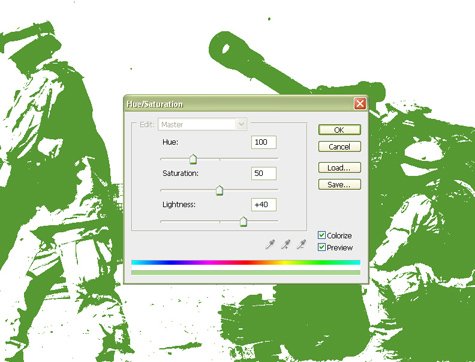
Now, let’s create a duotone with white as the background. For this example, adjust the Hue to 100, the Saturation slider to 50, and the Lightness slider to +40. Click OK (Figure 6).
Figure 6.
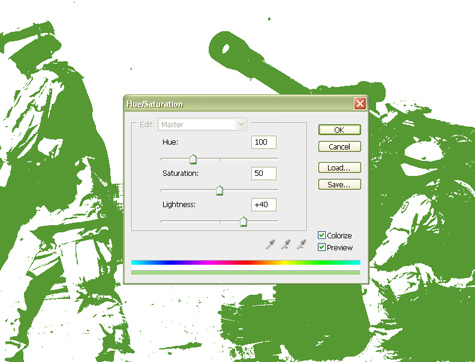
When you’re trying this technique on other images, drag the sliders right and left and watch the results. Moving the Hue slider changes colors. Dragging the Lightness slider to the left lightens the color, and dragging the Saturation slider to the left increases saturation.
Save the image (File > Save As) and name it “green.jpg.” Close that file.
Step 7
Now let’s make another duotone, this time with a black background. Close “before.jpg” without saving, then re-open it.
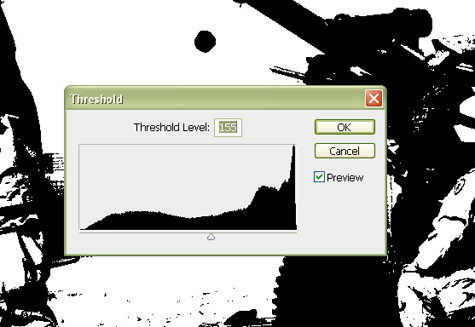
Go to Image > Adjustments > Threshold and adjust the slider to 155 (Figure 7). Click OK.
Figure 7.
Step 8
Go to Image > Adjustments > Hue/Saturation again. Check the Preview and Colorize boxes by clicking on them. Set the values to Hue=40, Saturation=63, and Lightness=-47 (Figure 8). Click OK.
Figure 8.
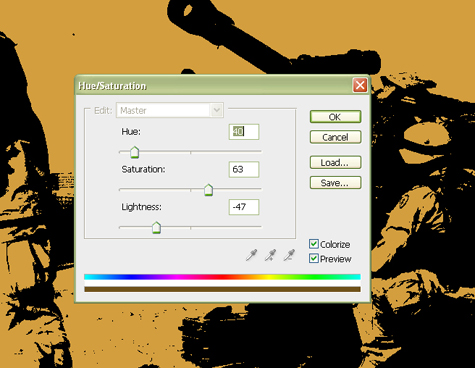
Name this image “brown.jpg” and keep it open.
Step 9
Let’s say you want a duotone made out of two color hues, instead of one color plus black or white? Easy!
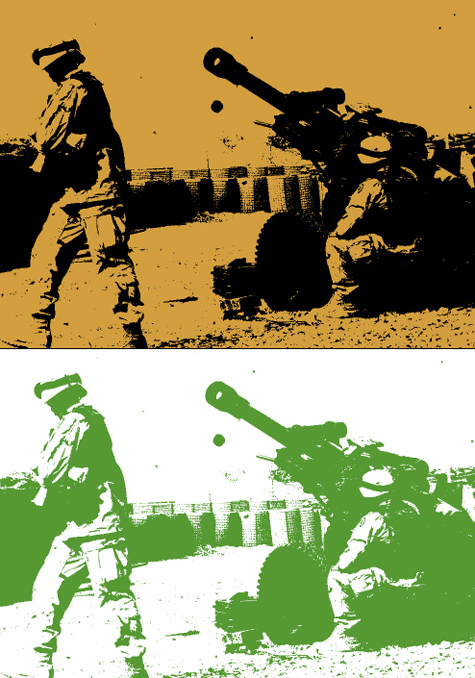
Open “green.jpg,” the file you created earlier in this tutorial. You should have two open files that look like Figure 9.
Figure 9.
Step 10
Click on “brown.jpg” to make it active and go to Select > Color Range. Hover your mouse over the brown area and click to sample it with the Color Range’s eyedropper tool (Figure 10). Click OK.
Figure 10.

Step 11
Go to Edit > Copy or press Cmd-C (PC: Ctrl-C) to copy the selected pixels. Open the “green.jpg” file and go to Edit > Paste or Cmd-V (PC: Ctrl-V) to paste the pixels.
You’ll notice that there are some white pixels you’ll want to make green or brown (Figure 11). The white pixels are there because the two images have slightly different ranges.
Figure 11.

Step 12
Click the eye icon next to the Background layer (the green pixels) in the Layers palette to turn off its transparency. Then turn the transparency for the Background layer back on by clicking its eye icon in the Layers palette. Select the Eyedropper tool from the toolbox.
Select the Background layer in the Layers palette by clicking on it. Click somewhere on the green to sample the green color. You can now turn off the transparency of the Background layer by clicking its eye icon in the Layers palette. Click the New Layer icon on the bottom of the Layers palette to insert a new layer, Layer 2, in between the Background layer and Layer 1 (Figure 12).
Figure 12.

Step 13
Press Option-Backspace (PC: Alt-Backspace) to fill the new layer with the green color in the foreground (Figure 13). Now you have a green-and-brown duotone. Save it as “duotone.jpg.”
Figure 13.
Step 14
You can adjust the hue, saturation, and lightness by going to Image > Adjustments > Hue/Saturation again. However, Photoshop won’t give you a black/color hue or white/color hue combination; instead, it will use the relationship between the two hues used.
Figure 14.
This article was last modified on January 5, 2023
This article was first published on March 5, 2008
Commenting is easier and faster when you're logged in!

Recommended for you
From Paper to PDF: Vectorizing Hand-Drawn Artwork with Photoshop and Illustrator
I have a close friend, Mike Manoogian, who is a brilliant lettering and logo des...

Using InDesign, Illustrator, and Photoshop Together: Getting the Most From the Interface
When Adobe first created the concept of a “Creative Suite,” they wanted to make...

Scanning Around With Gene: Profile of An Early Clip Art Character
The term “clip art” has become a generic description of any art, ill...