

Using Adobe Illustrator and Adobe Photoshop together can produce some original designs. I’ll go over a technique of creating a shape in Illustrator and then using it as a clipping mask in Photoshop, which is then partially hidden for a nice background effect.
Step 1
In Illustrator, click-and-hold the Rectangle tool to bring out the other shapes. Click the Ellipse tool (Figure 1).
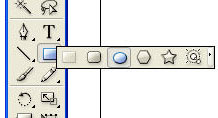
Figure 1.
Step 2
You can click-and-drag out a small circle by holding Shift to keep the correct proportion, or you can click on the Artboard with the Ellipse tool selected and enter a specific size, such as .2 inches shown in Figure 2. Make the Fill black and Stroke none.
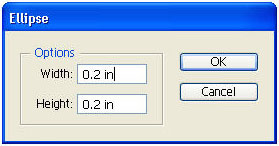
Figure 2.
Step 3
With the Selection tool, hold down Opt-Shift/Alt-Shift and click-and-drag to the right to create a duplicate at a 90-degree angle (Figure 3).

Figure 3.
Step 4
To repeat this effect with the same settings, press Command-D/Ctrl-D. Press it as many times as needed to create a row (Figure 4).

Figure 4.
Step 5
With the Selection tool, click-and-drag around the row of circles to select them. Then hold down Opt-Shift/Alt-Shift and click-and-drag below the current selection to create a duplicate row. Press it several times (Figure 5).

Figure 5.
Select the entire grid of circles and copy it (Edit> Copy).
Step 6
Now go to Photoshop and open an image you want to work with, then paste the material from Illustrator (Edit> Paste) (Figure 6).
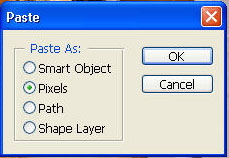
Figure 6.
Step 7
Press Enter to place the clipboard contents. The results should look something like Figure 7.
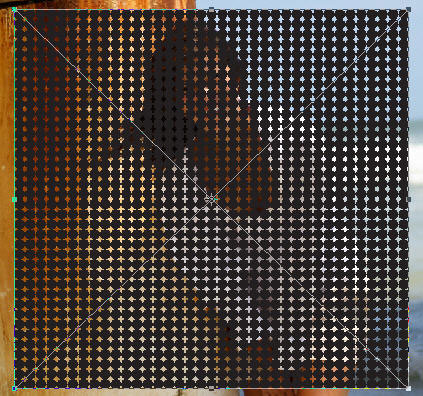
Figure 7.
Step 8
Double-click on the Background layer and name it. In the Layers palette, click-and-drag the new layer, which has the pasted shape from Illustrator below the original layer. There should now be two layers, one that has the image and one that has the shape pasted from Illustrator. The pasted shape layer should be below the image layer.
Position the cursor between the two layers in the Layers palette and hold down Opt/Alt and a circle icon will appear. Click to make a clipping mask.

Figure 8.
Step 9
The image looks pretty cool, but let’s go one step further. With the circles layer selected in the Layers palette, choose a soft-edged, large brush and paint black over areas where you want to hide the circles. Now the subject stands out from the rest of the image, with a nice background effect.
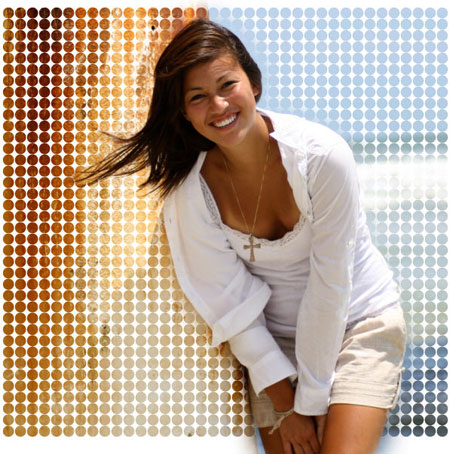
Figure 9.
This article was last modified on January 4, 2023
This article was first published on May 18, 2007
Commenting is easier and faster when you're logged in!

Recommended for you
Scanning Around With Gene: Five Years on a Flatbed
When I discovered that today marks my five-year anniversary writing a column her...
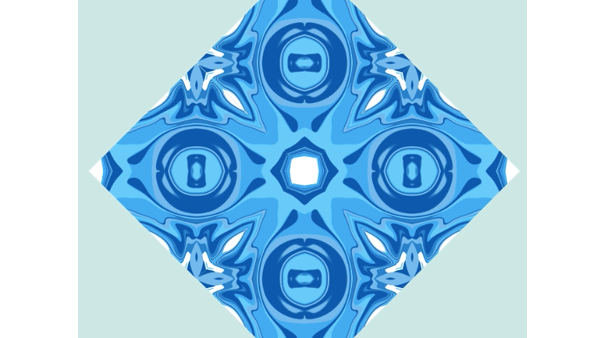
How to Create Kaleidoscopic Patterns in Photoshop
If you’ve been using Photoshop for a while, you’ve probably realised by now you...

Image-Editing Review: Adobe Photoshop Lightroom 4
Pros: Improved develop engine extracts surprising dynamic range out of single im...