HD Graphics with Adobe Muse and Adobe DPS
The exciting thing about tablet publishing with Adobe DPS is the ability to include almost any type of asset in your file. And while most of the assets are easily prepared, it’s usually the HTML options that leave designers puzzled. Luckily you can use programs like Adobe Muse to prepare and create HTML snippets that can be easily placed into your InDesign document. But many people still struggle with finding the perfect resolution for these web assets. After all, what do you do with retina devices and different folio resolutions?
Adobe Muse CC 2014 and HiDPI
The rules of the game have changed ever since the Muse 2014 update was released. Pre-2014, and for best practices, it was recommended for the designer to create the Adobe Muse project at double the resolution before placing it into InDesign. This way the images would look crisp on both SD and HD devices when using Adobe DPS. This procedure was unknown to most designers, often resulting in an average image quality at best. And doubling the document resolution in Muse wasn’t always easy to work with.
But after having updated to the new Muse 2014 it is now possible to create documents with a HiDPI setting. HiDPI means that the HTML document itself retains its “normal” width and height but Muse would automatically scale all placed images down to 50% the moment they’re placed into the document. This smaller version of your original file will be used when using SD (standard definition) devices and the original version will be used on HD (retina) devices. I know that in theory this option should have been called “HiPPI” but it looks like we’ll just have to accept this.
Viewing HiDPI graphics
One of the conditions of generating this high(er) resolution version is making sure you use your artwork at 50% of its original size in Adobe Muse. If you were to upscale this 50% version of an image back to 100% you wouldn’t have enough resolution left to generate the HiDPI version upon export so be careful when manipulating graphics in Adobe Muse.
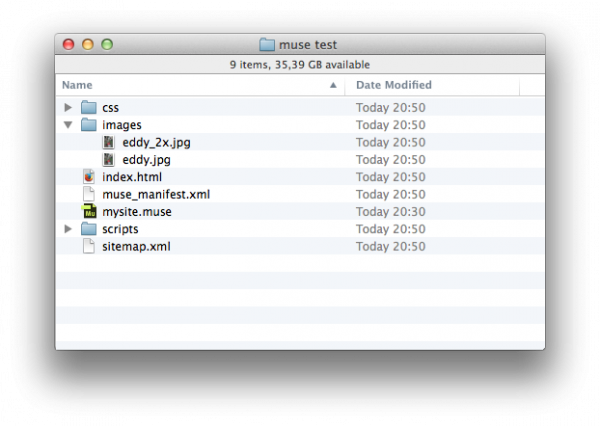
The exported result of a HiDPI project from Muse will give you two sets of assets. First you’ll get the original asset, before it was scaled down to 50%. This one will be used for the HiDPI version. The second asset is the same image but resampled to a 50% smaller version. Of course this means that your web project will consist of a lot more files and will become a bit heavier to load in. If you were to visualize your HTML project using a screen or device with a normal resolution your browser will use the “standard” assets, which are the 50% scaled versions. But when you’re using a Retina display laptop or device the site will automatically display the HiDPI (retina) graphics instead, offering you an optimized viewing experience. Of course the question is: does this also work on Retina display iPads and is it possible to use the same technique when embedding your Muse HTML into an Adobe DPS Folio?
The plan
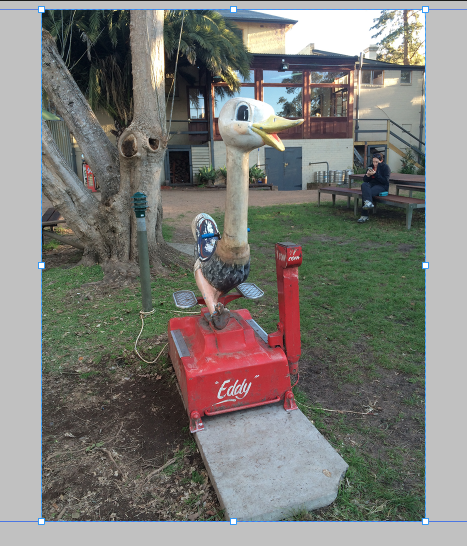
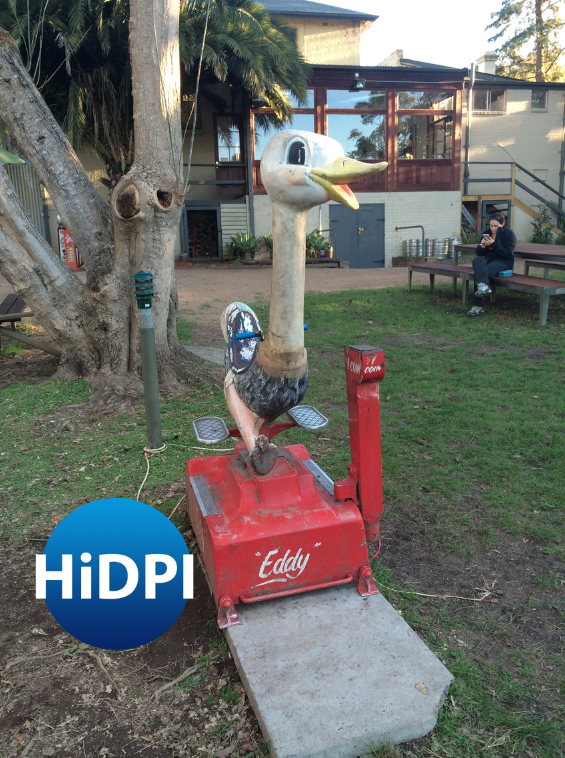
Meet “Eddy”, a retro coin-op ride, beautifully captured in this image. This image is a 2048 x 1536 px JPEG file and will be placed into a new Adobe Muse project that uses the new HiDPI setting. It has a 2.8MB file size and camera metadata (in this case my iPhone 5S). The next step would be to publish your Muse project by exporting it to HTML and inspect the assets that Muse has generated for us. These assets should look exactly the same but will have a difference in size. To make this visual distinction we’ll also open the HiDPI image and give it a visual markup in Photoshop so we can later distinguish one from the other.
Then we’ll place the HTML file into a new InDesign document which will be used as a Folio with Adobe DPS. The Folio will then be previewed on both an SD (Standard Definition) and an HD (High Definition) device. This way we can verify which asset will be visualized on which device.
Building the file
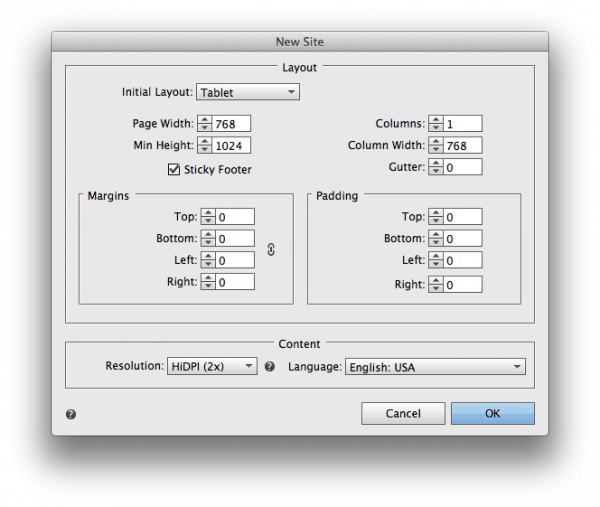
I launched Adobe Muse and created a basic file using the Tablet intent setting. At the bottom I chose the “HiDPI (2x)” setting before clicking “OK”.
Next I opened the “A-Master” page and moved the Header and Footer guides away from the page, giving me the full page dimension to work with.
Now it’s time to put Eddy on the page. After having chosen my image using File > Place I clicked the page once with my loaded cursor, resulting in Muse placing the file automatically at 50% its size. Then I nudged the image until it was nicely aligned at the top left of my project. Now my entire page is perfectly filled with my image.
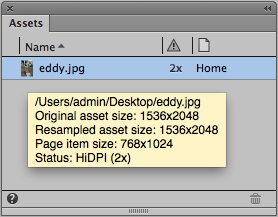
Upon inspection of the Assets panel you’ll see that my image has a “2x” symbol, signifying that the image has sufficient resolution to be considered a HiDPI version. In practice this just means the image has been scaled down enough in the design. Also, when you hover over the image thumbnail you’ll spot some very interesting information:
- Original Asset Size: the original resolution of the image before you placed it into Adobe Muse.
- Resampled Asset Size: the resampled version of the image, this will be the HiDPI version. This number may differ from the Original Asset Size if the file was very large, don’t worry about this. Just keep your eye on the difference between this size and the Page Item Size.
- Page Item Size: the size of the item on your page, this should be 50% of the Resampled Asset Size. You can also check these dimensions using the Transform panel in Muse.
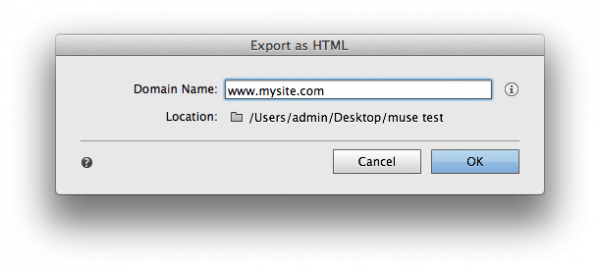
After having saved the Muse file I chose File > Export as HTML and typed in my website URL.
Inspecting the assets
Notice there are 2 files in my images folder; one called “eddy.jpg” and one called “eddy_2x.jpg”.
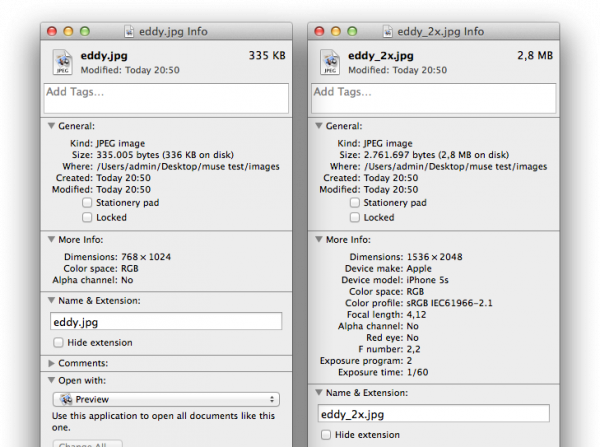
Let’s inspect the image properties:
- eddy.jpg: this file may have the same name as the original imported image but this is actually a new image that Muse has created for us. Its dimensions match what we had as Page Item Size resolution. This file will be used for the SD version of our graphics.
- eddy_2x.jpg: this file matches our original resolution and will be used for the HD version of the project. Also notice that this file has the exact same metadata as our original, meaning that Muse didn’t resample this file during export.
Combining HiDPI with Adobe DPS
Now let’s take a look at how Adobe DPS manages these projects and if your folio really does make a distinction between SD and HD images. But to spot the difference I need to add some sort of annotation to the HD jpg file so I’ll recognize it later. So I opened the file in Adobe Photoshop and added an extra detail.
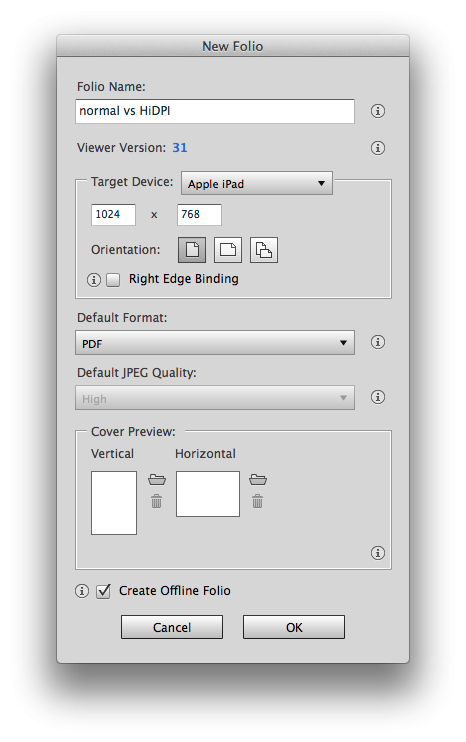
Now I headed to InDesign and created a basic 1024 x 768 px folio using the Folio Builder panel. Next I set up a 1024 x 768 px InDesign document and created an empty graphic frame that has the dimensions of the page item in Adobe Muse, i.e. 1024 x 768 px. Then I used the Web Content option in the Folio Overlays panel to link my frame to my Muse HTML file.
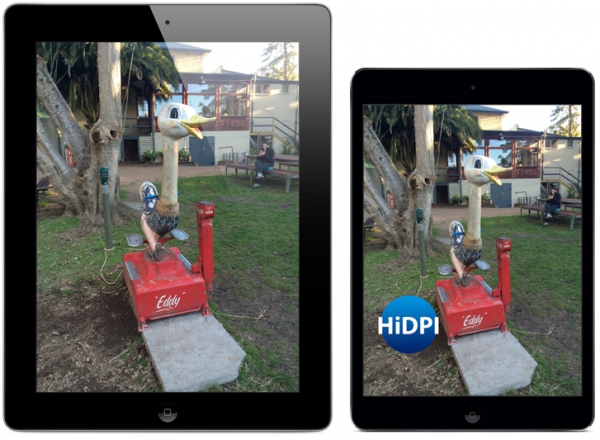
After having uploaded my folio using the Folio Builder panel it was time to test it out. To test this I used an older iPad2 (SD resolution) and a new iPad Mini Retina display (HD/retina resolution).
Conclusion
As you can clearly see, displaying the same Folio on different devices has a different result. The iPad Mini Retina is showing the “eddy_2x.jpg” image while the older iPad2 is showing the “eddy.jpg” image. This means that the HiDPI settings in Adobe Muse can and should be used when creating graphics that should look crisp on both SD and HD devices. Again it has become a little bit easier to create graphics for multiple devices.


